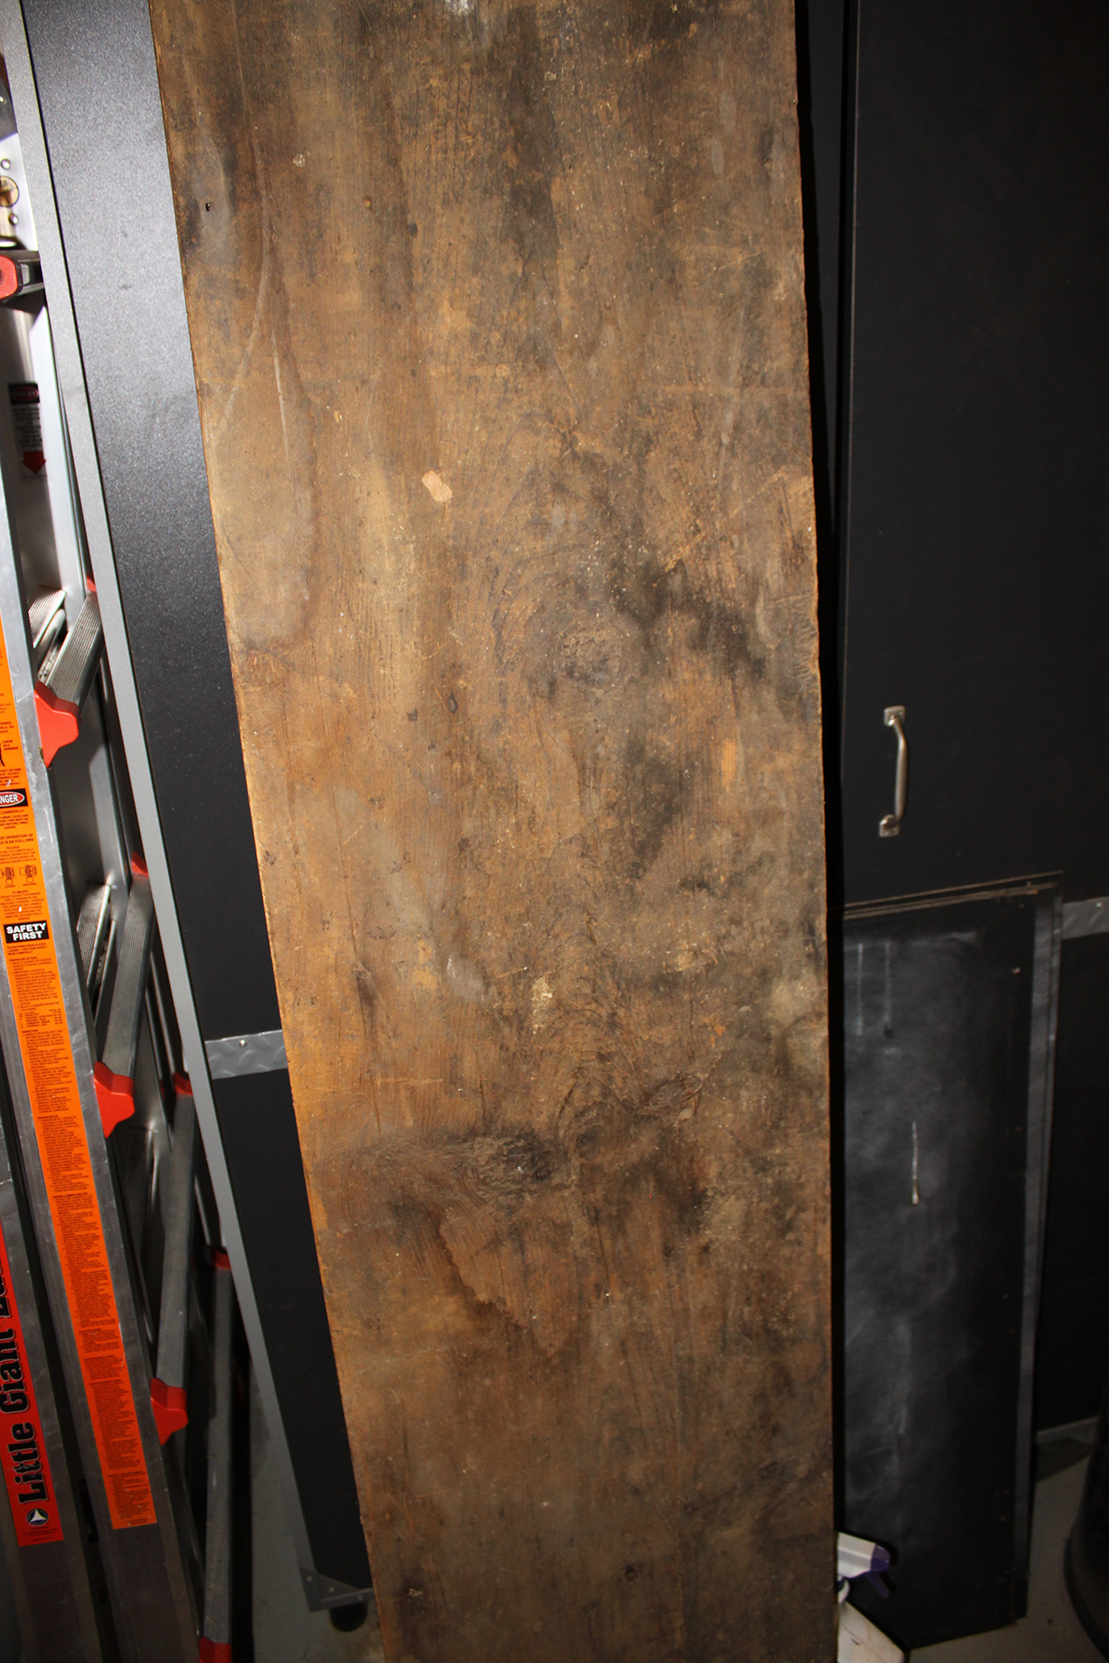
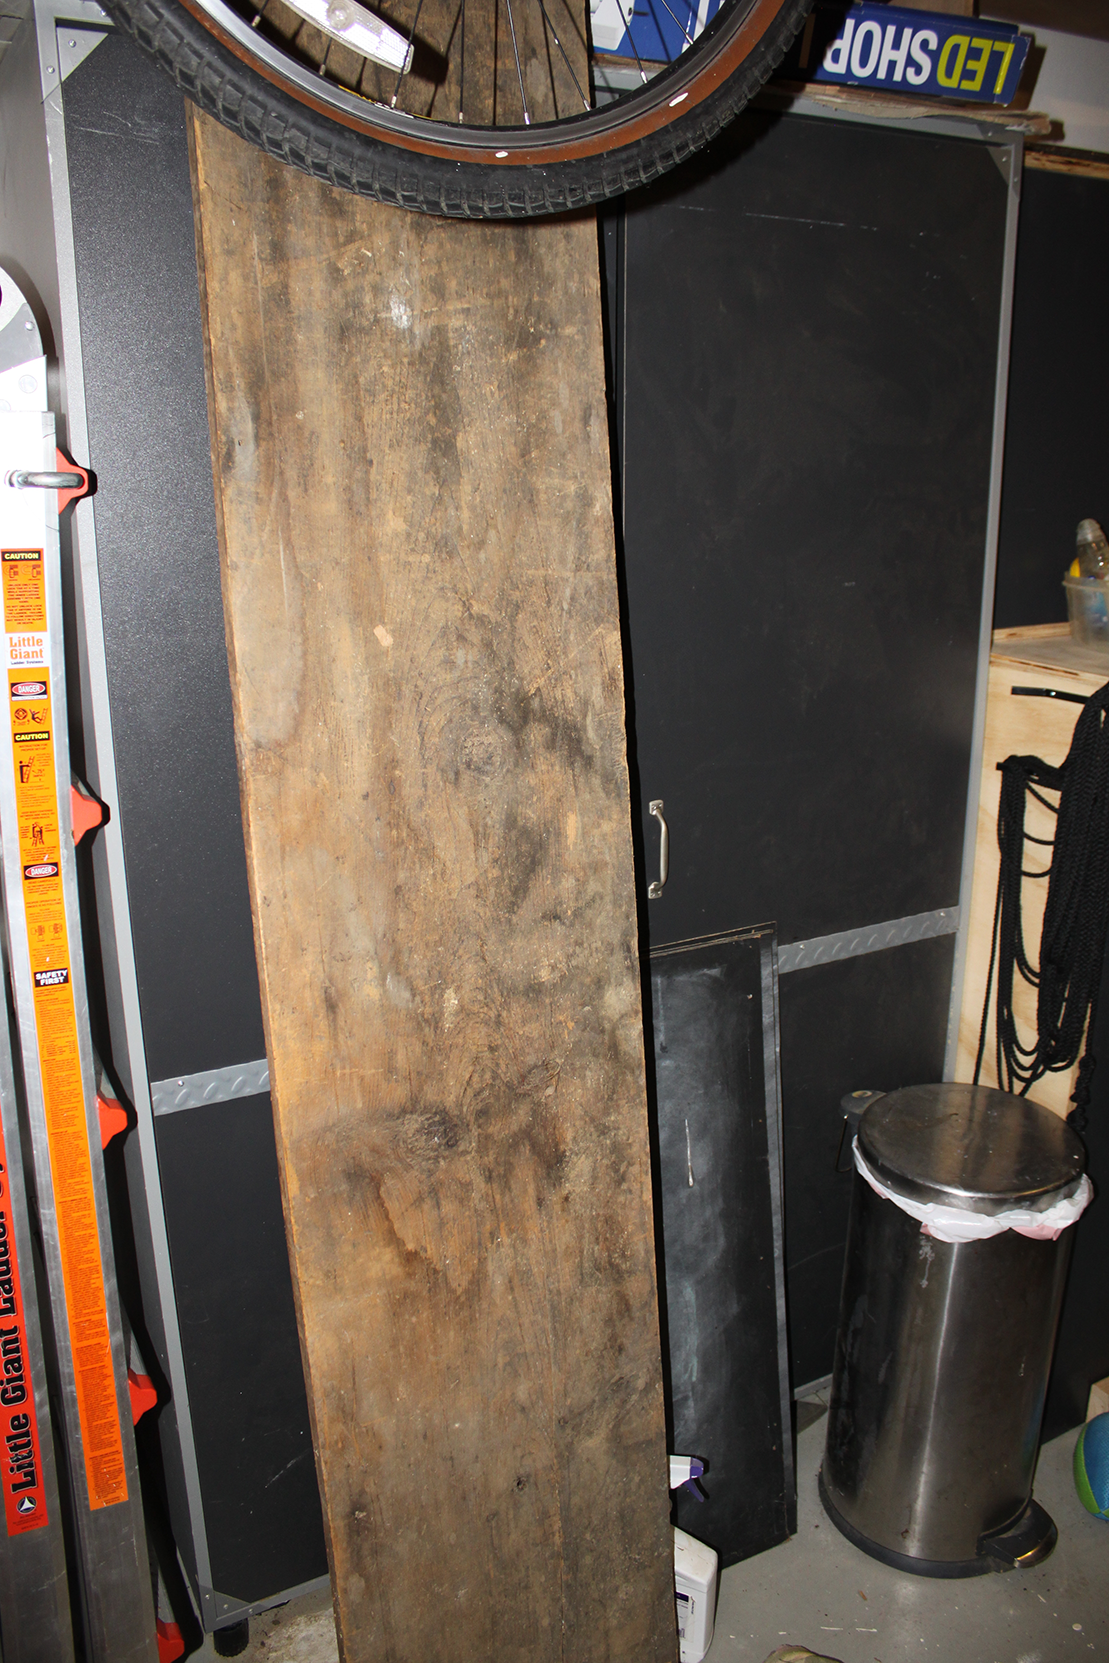
I recently purchased an adjustable standing desk base, but initially just dropped a 2'x4' birch plywood board on it. It was a nice introduction to working with a standing desk, but the working space was too small and the edges were very pointy. I wanted to see if I could make a nice desk from these boards from my father-in-law. He reclaimed them from the attic of a house on the Eastern Shore. Pine, I think, but wide (about 16") and very dirty and rough.
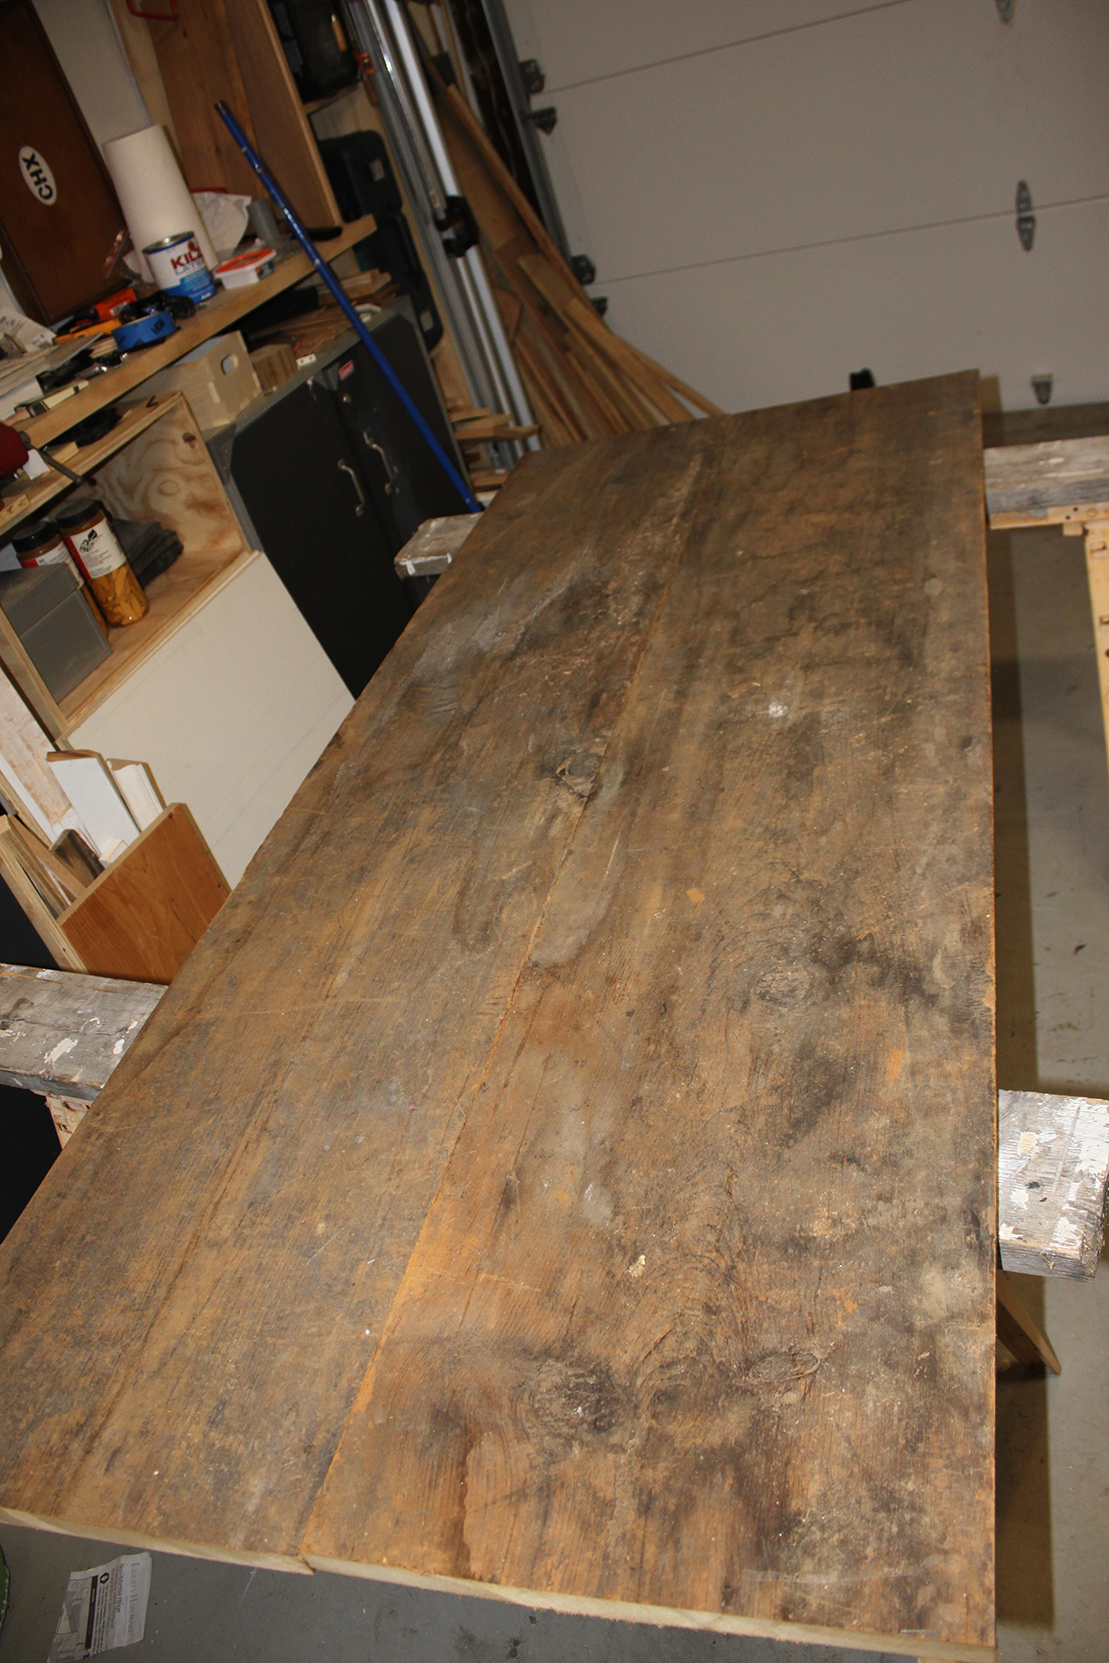

So first I cut the boards to length. I choose to cut them at just under 6 feet of length. It turns out that the boards weren't entirely straight. I ripped both of them to 15 3/8, since that was the widest I could do and have the edges parallel. The second (wider) board actually varied from 16 1/2" to 15 3/8" from one end to the other.
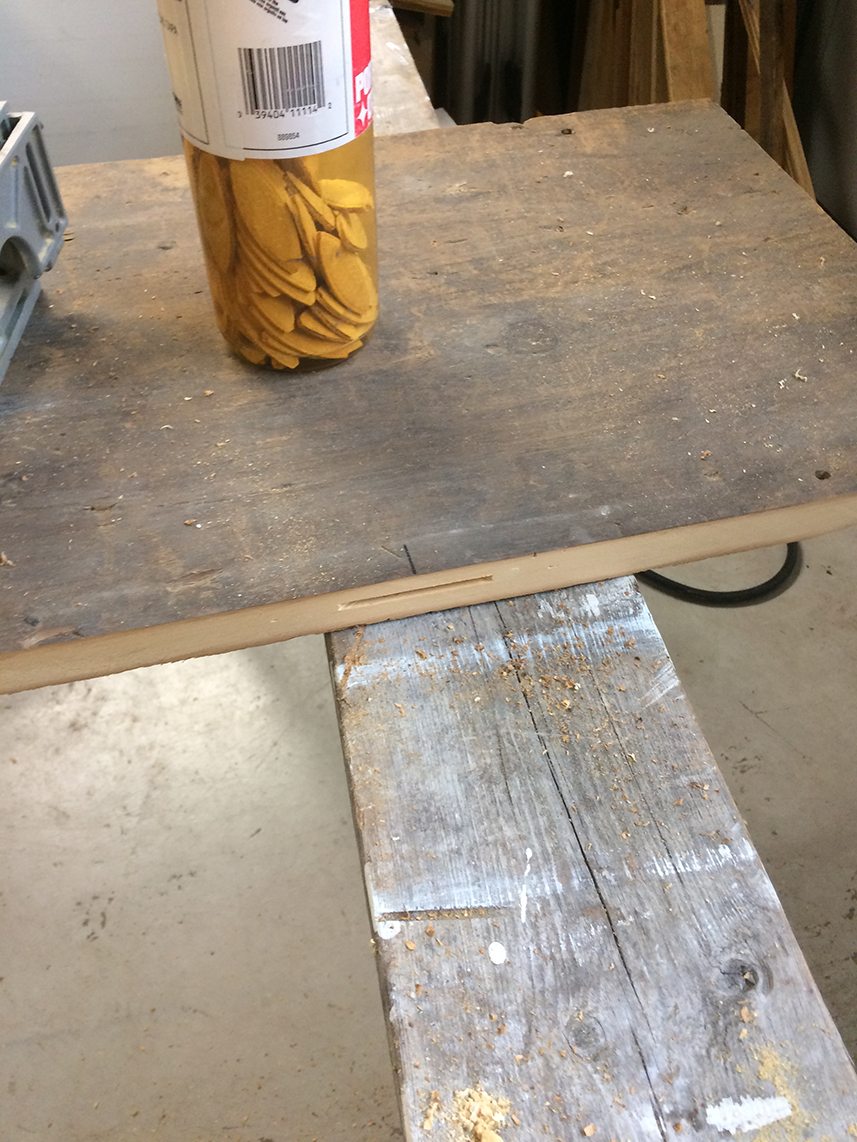
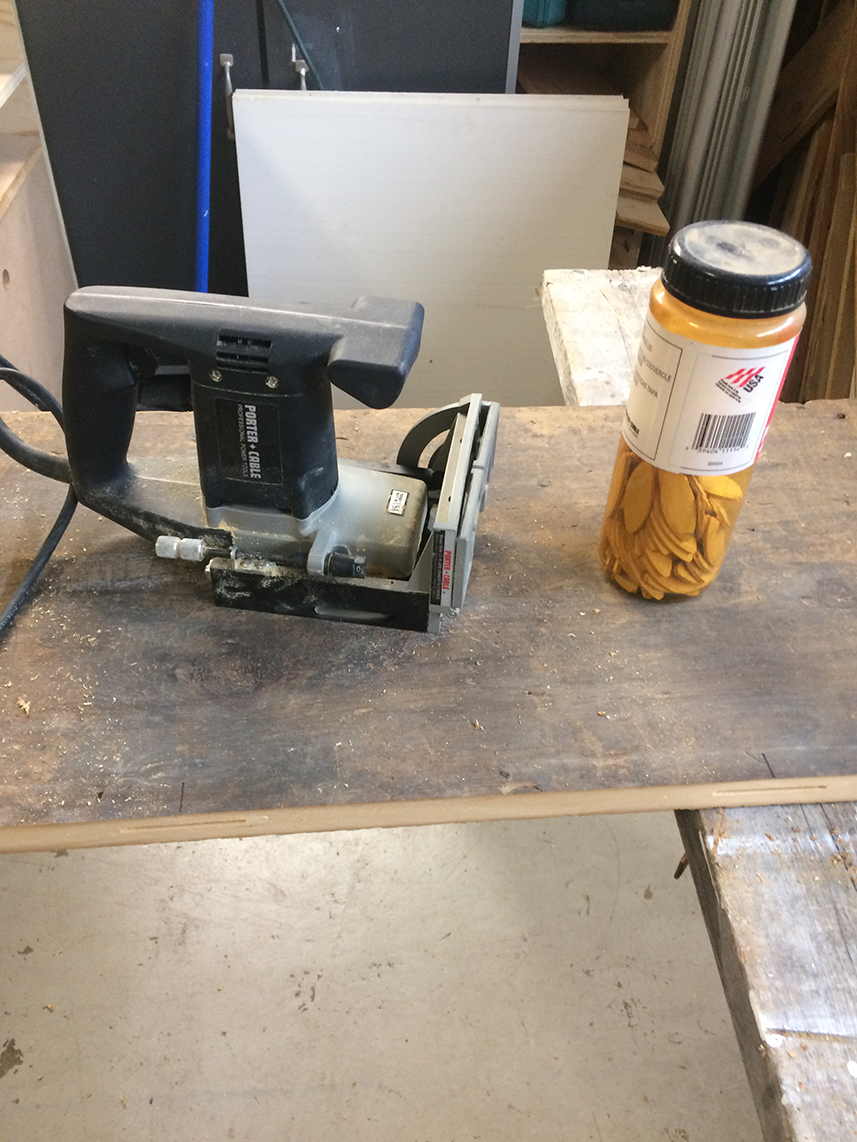
After ripping the boards to get a straight edge, my next step was to biscuit join them together. It was my first time using the joiner, so I was pleasantly surprised at how easy it was. I put the boards next to each other, and drew a pencil line straight across every foot or so to make sure the pockets for the biscuits were in the right place. Then I aligned the joiner with the pencil lines on each side to make the holes.
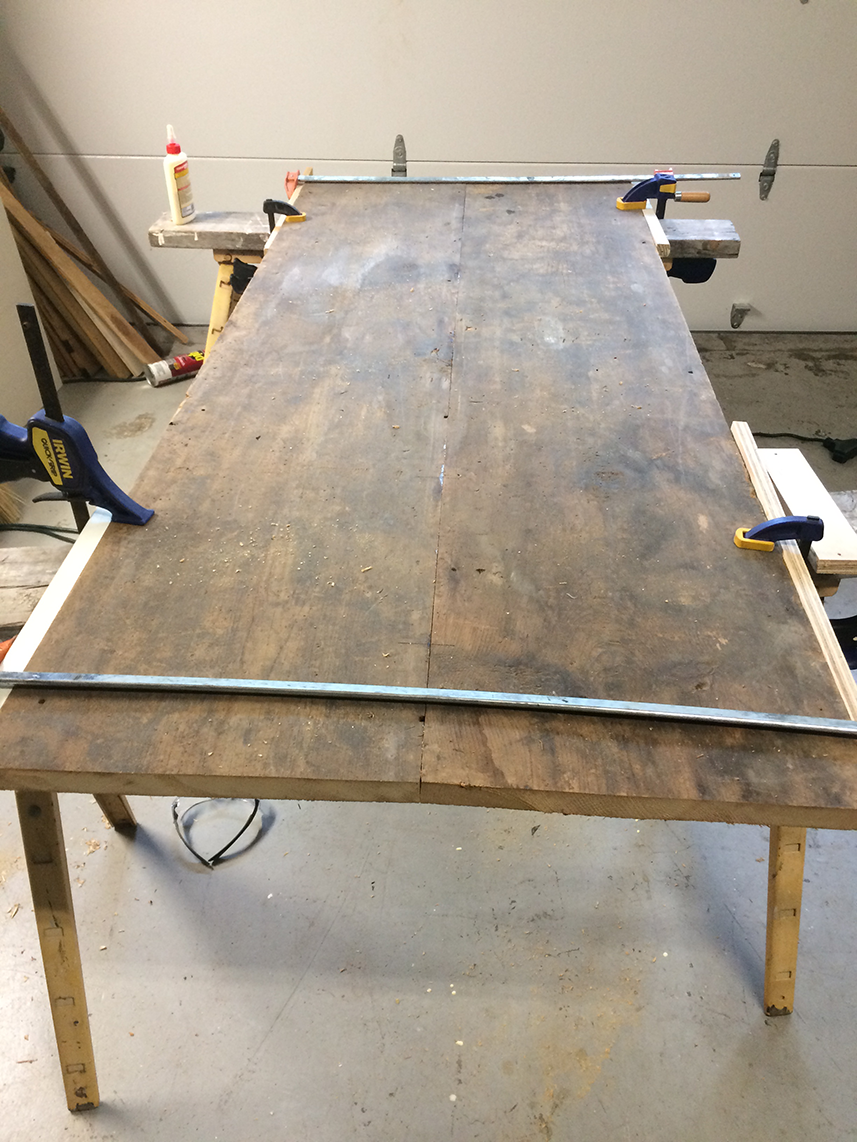
I put glue on each side of the biscuits, put the biscuits in the holes, then clamped the boards to each other, After some initial issues, I also clamped the boards down to the saw horses to keep it from buckling up in the middle. Then I let it dry overnight.

After the glue dried, I did sanding. Lots and lots of sanding!
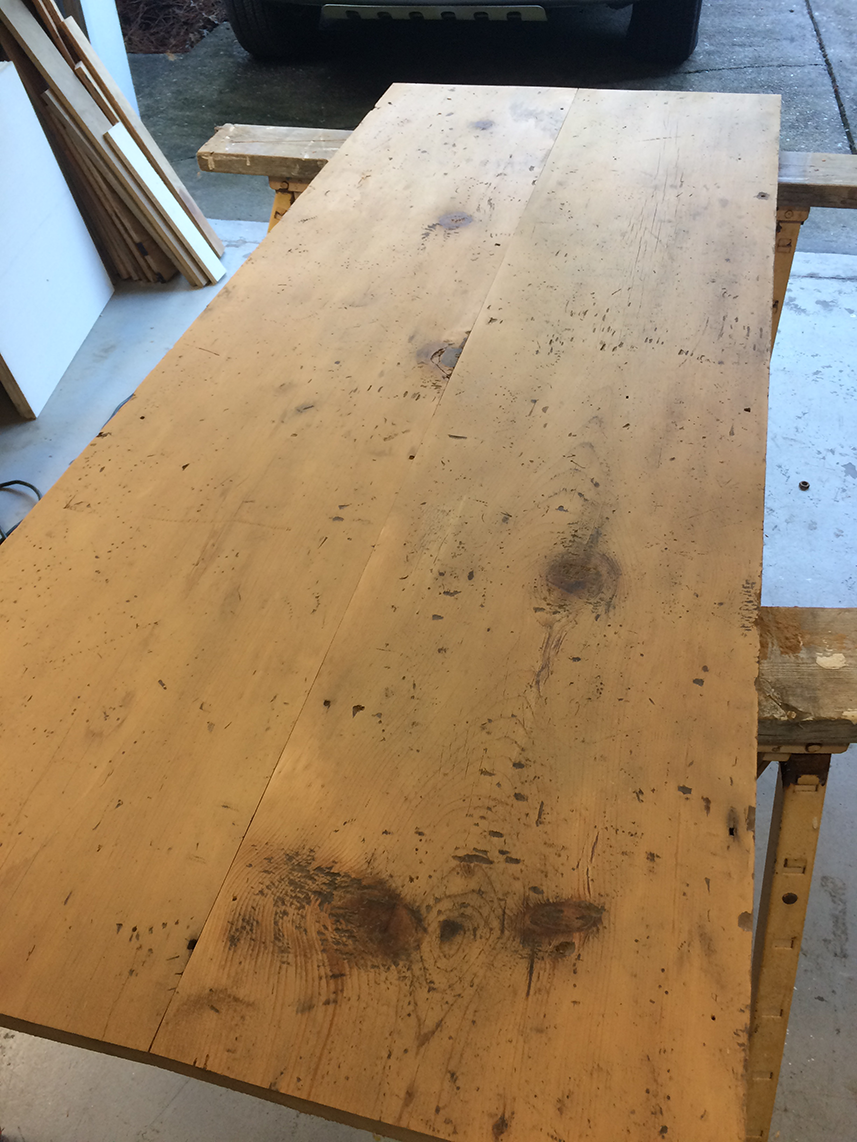
I only have a hand planer, and getting a planer big enough for these boards isn't in my budget. I used an orbital sander with progressively higher grit, but wanted to keep the worn character of the boardss

I'd already bumped my hip on the sharp corner of my plywood top, so I wanted to round the edges. My initial pencil line was a little too big, so I ended up tracing the edge of a lid to make the corner, then used a belt sander to round it off.
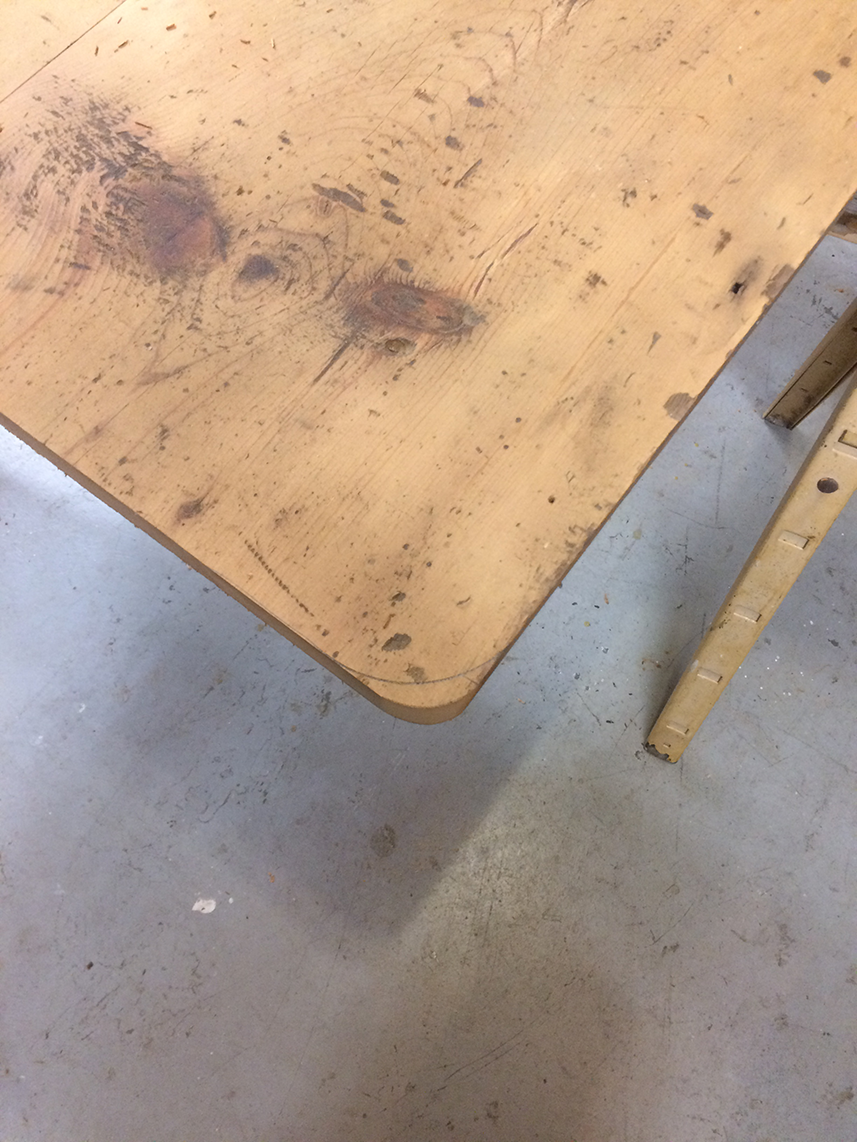
I used a router with a "round-over" bit to make nice edges.
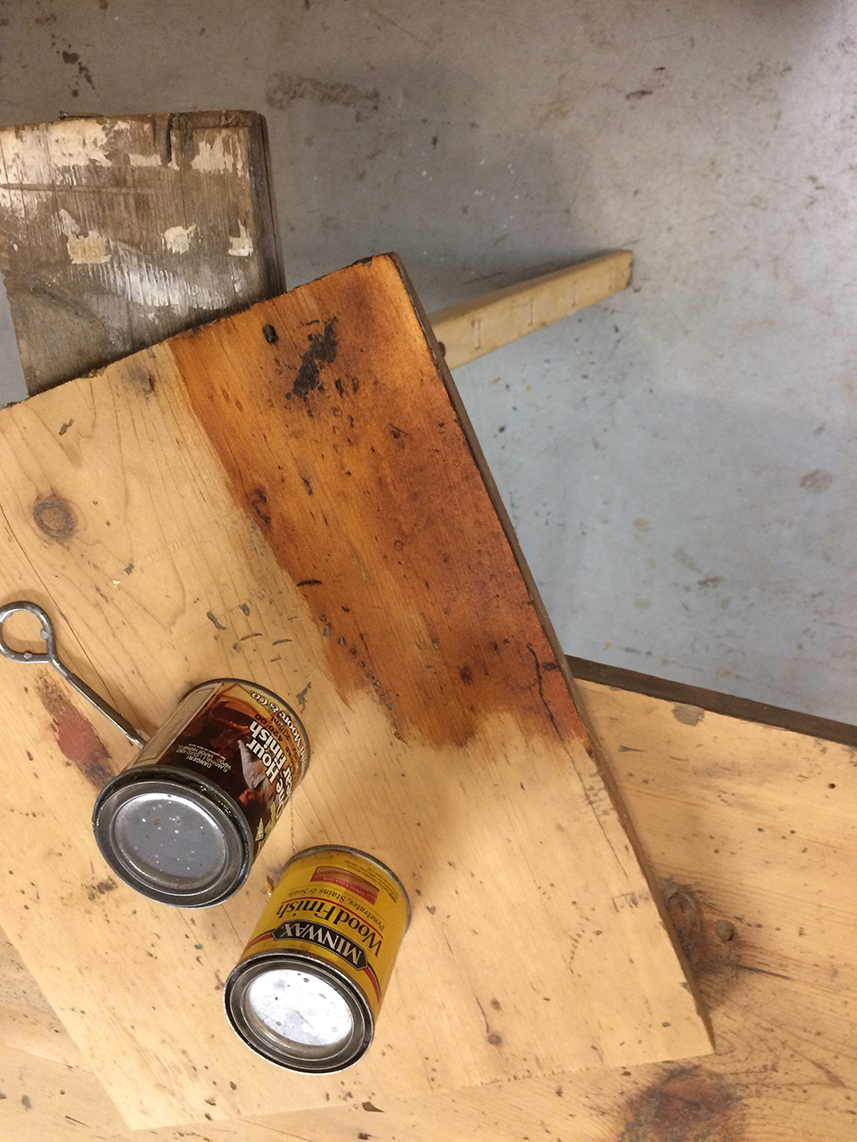
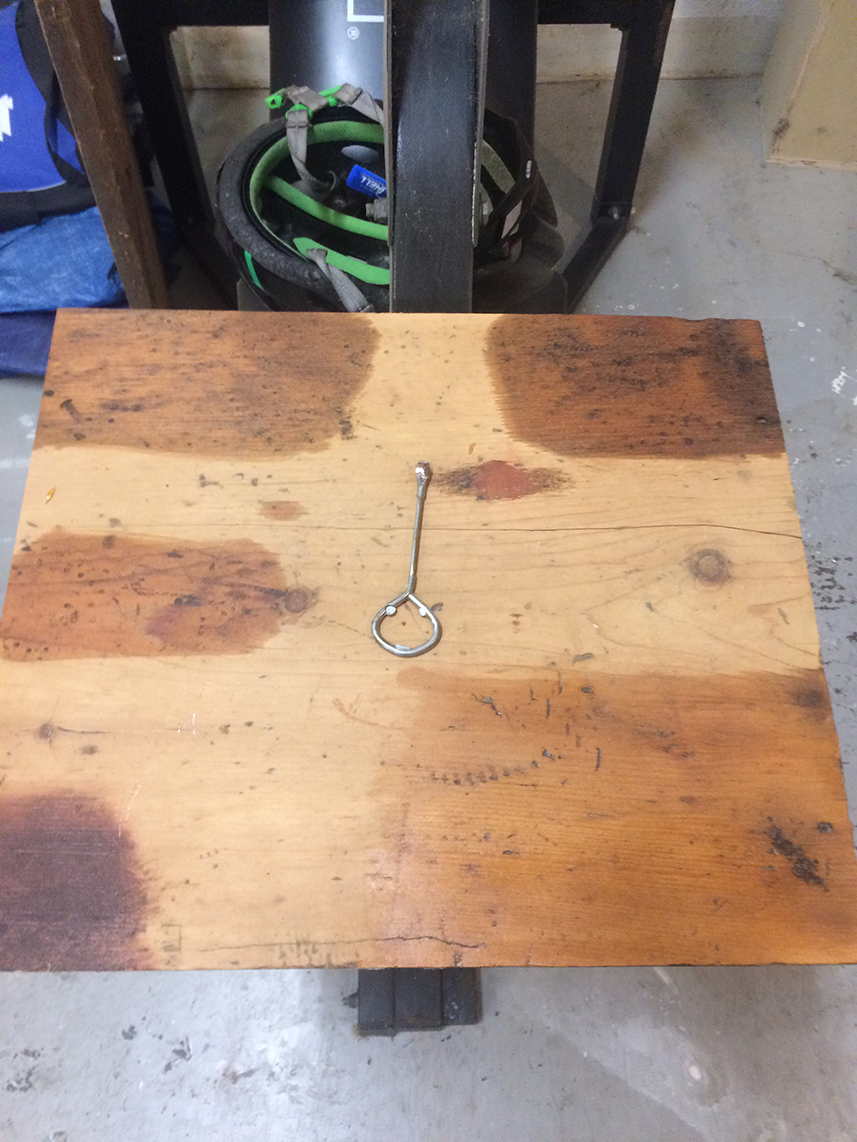
I did some stain testing, and thought I found the one I wanted (top left).
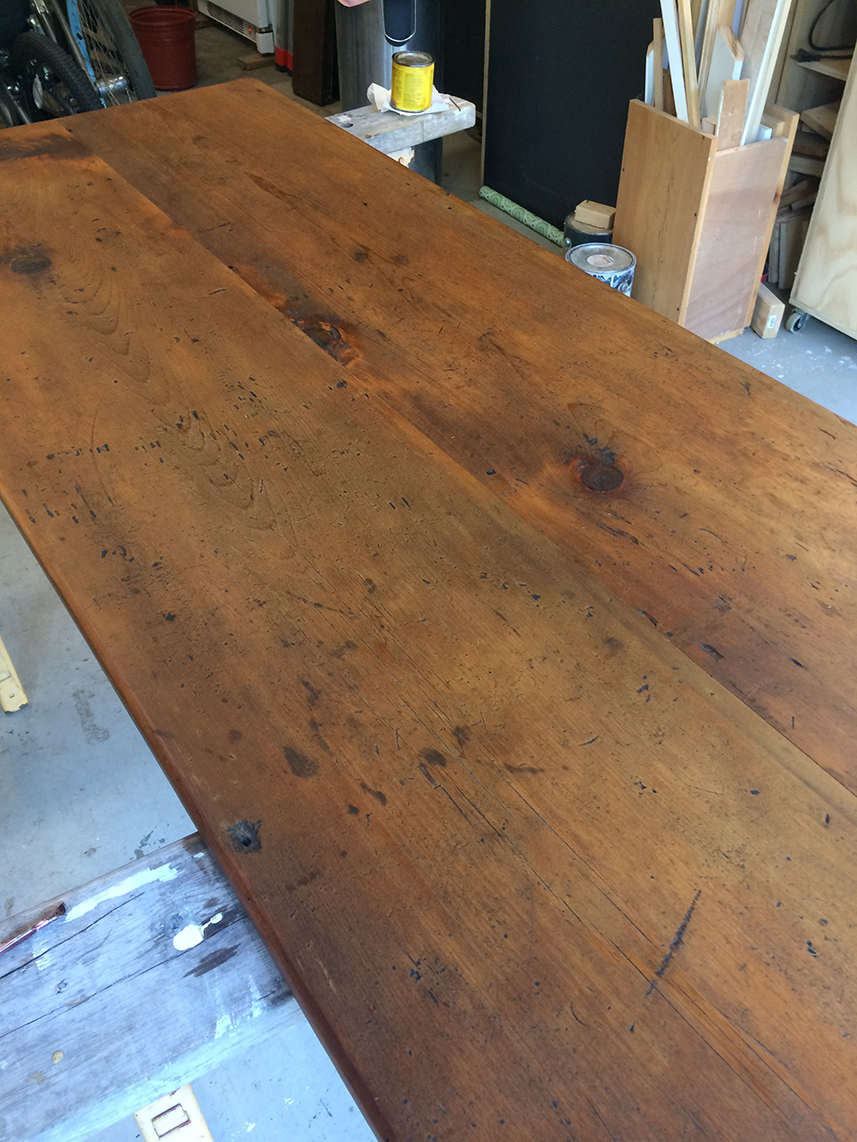
The first coat came out a little too red for my taste.
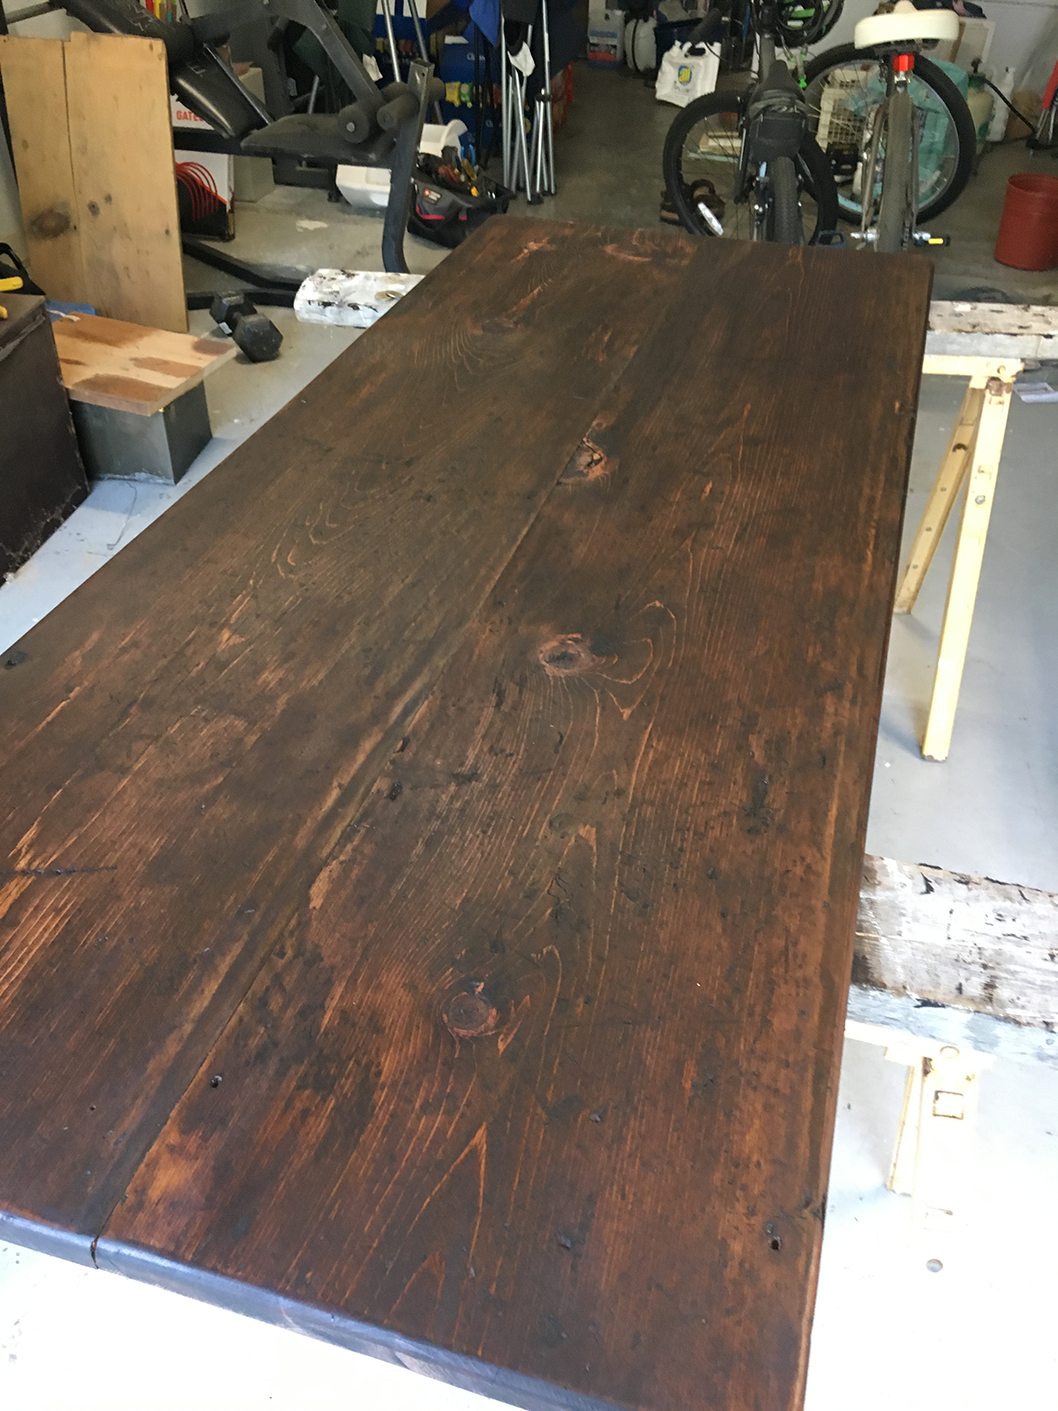
The second coat came out way to dark, and too opaque. It almost looked burned. So back to sanding and scraping.
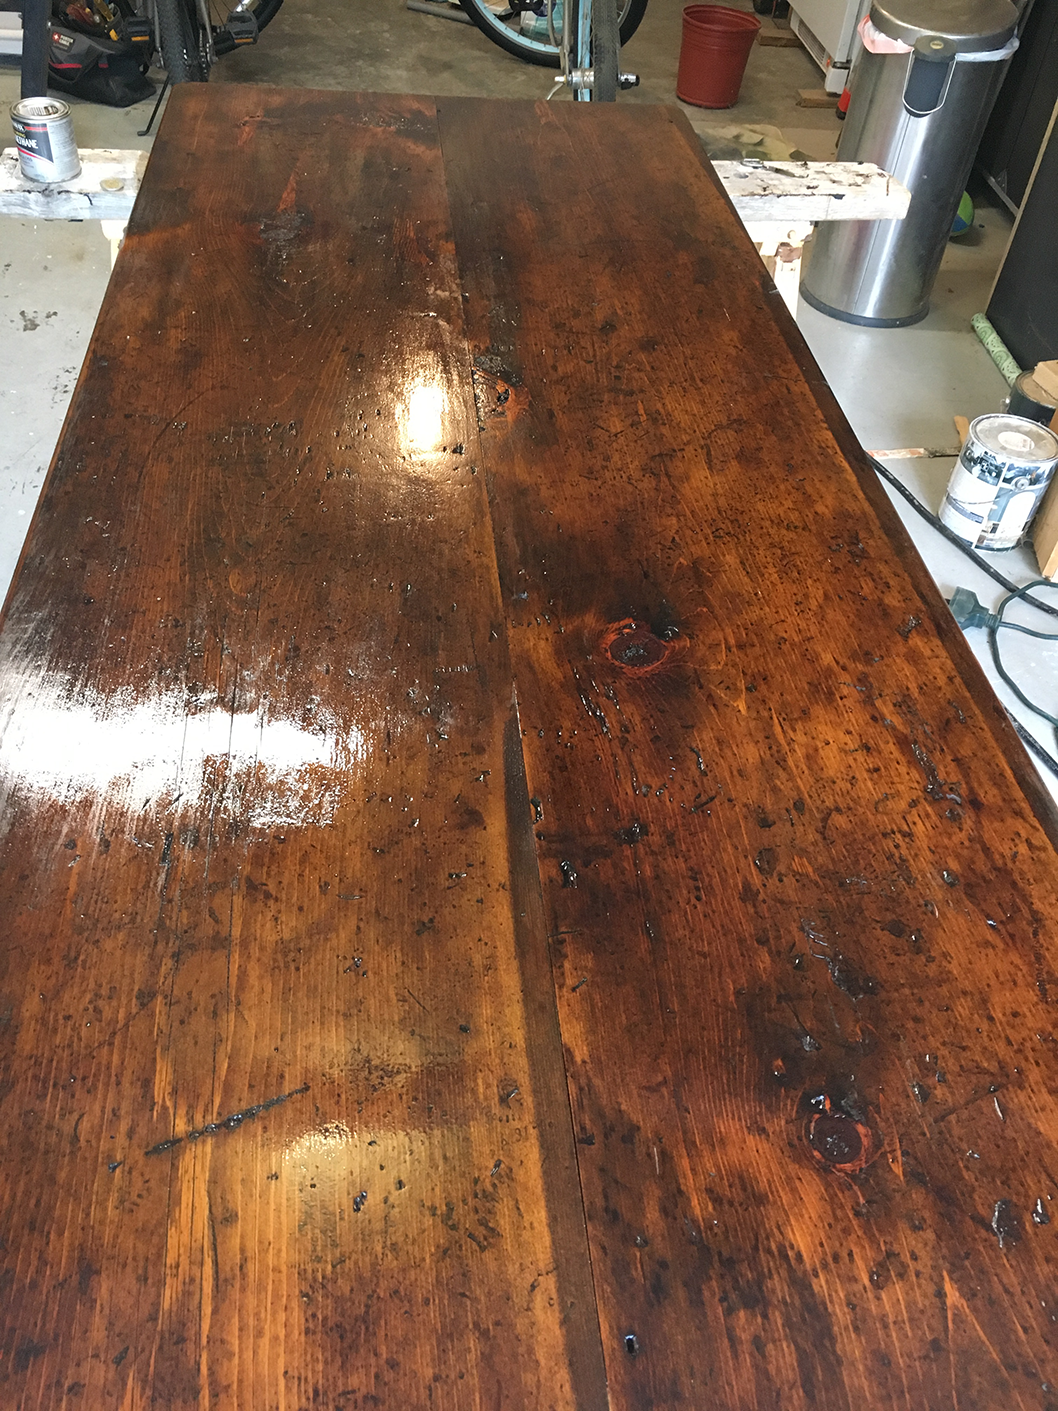
After much scraping/sanding, I finally decided enough was enough. I put some poly on it.
Second and third coats of poly.
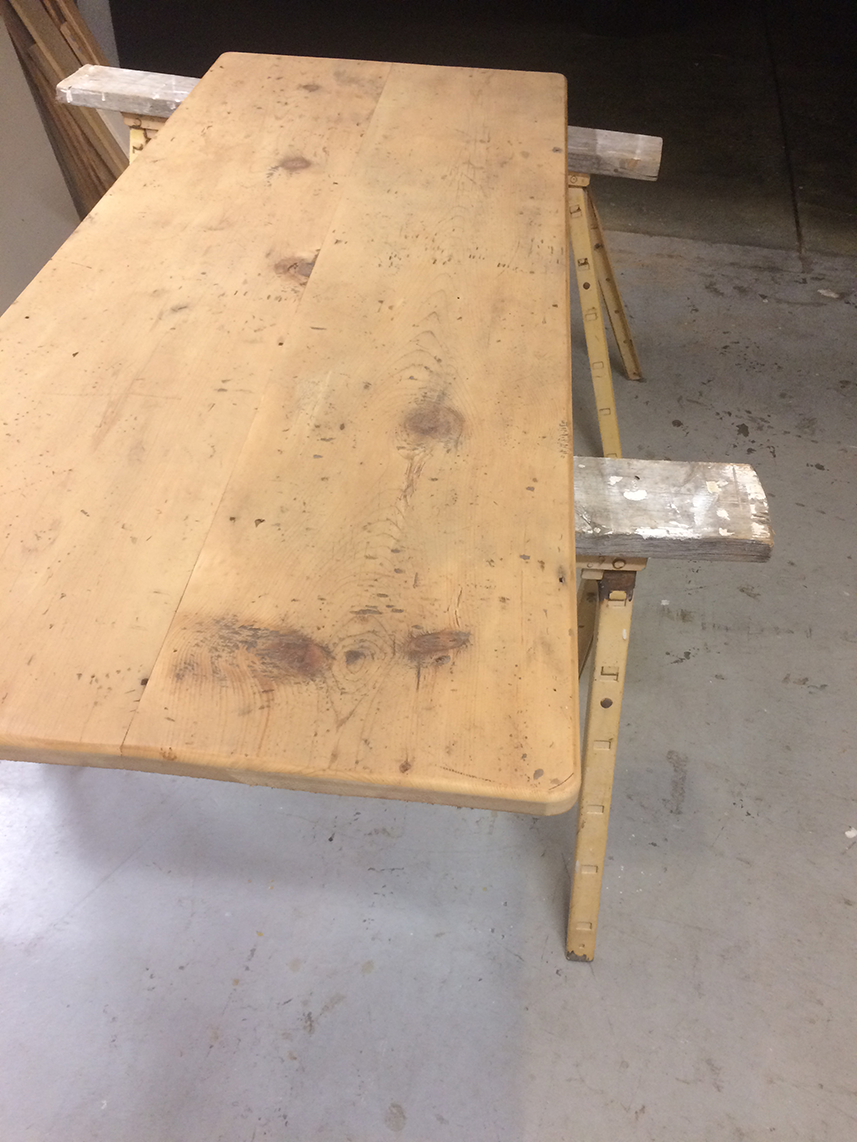
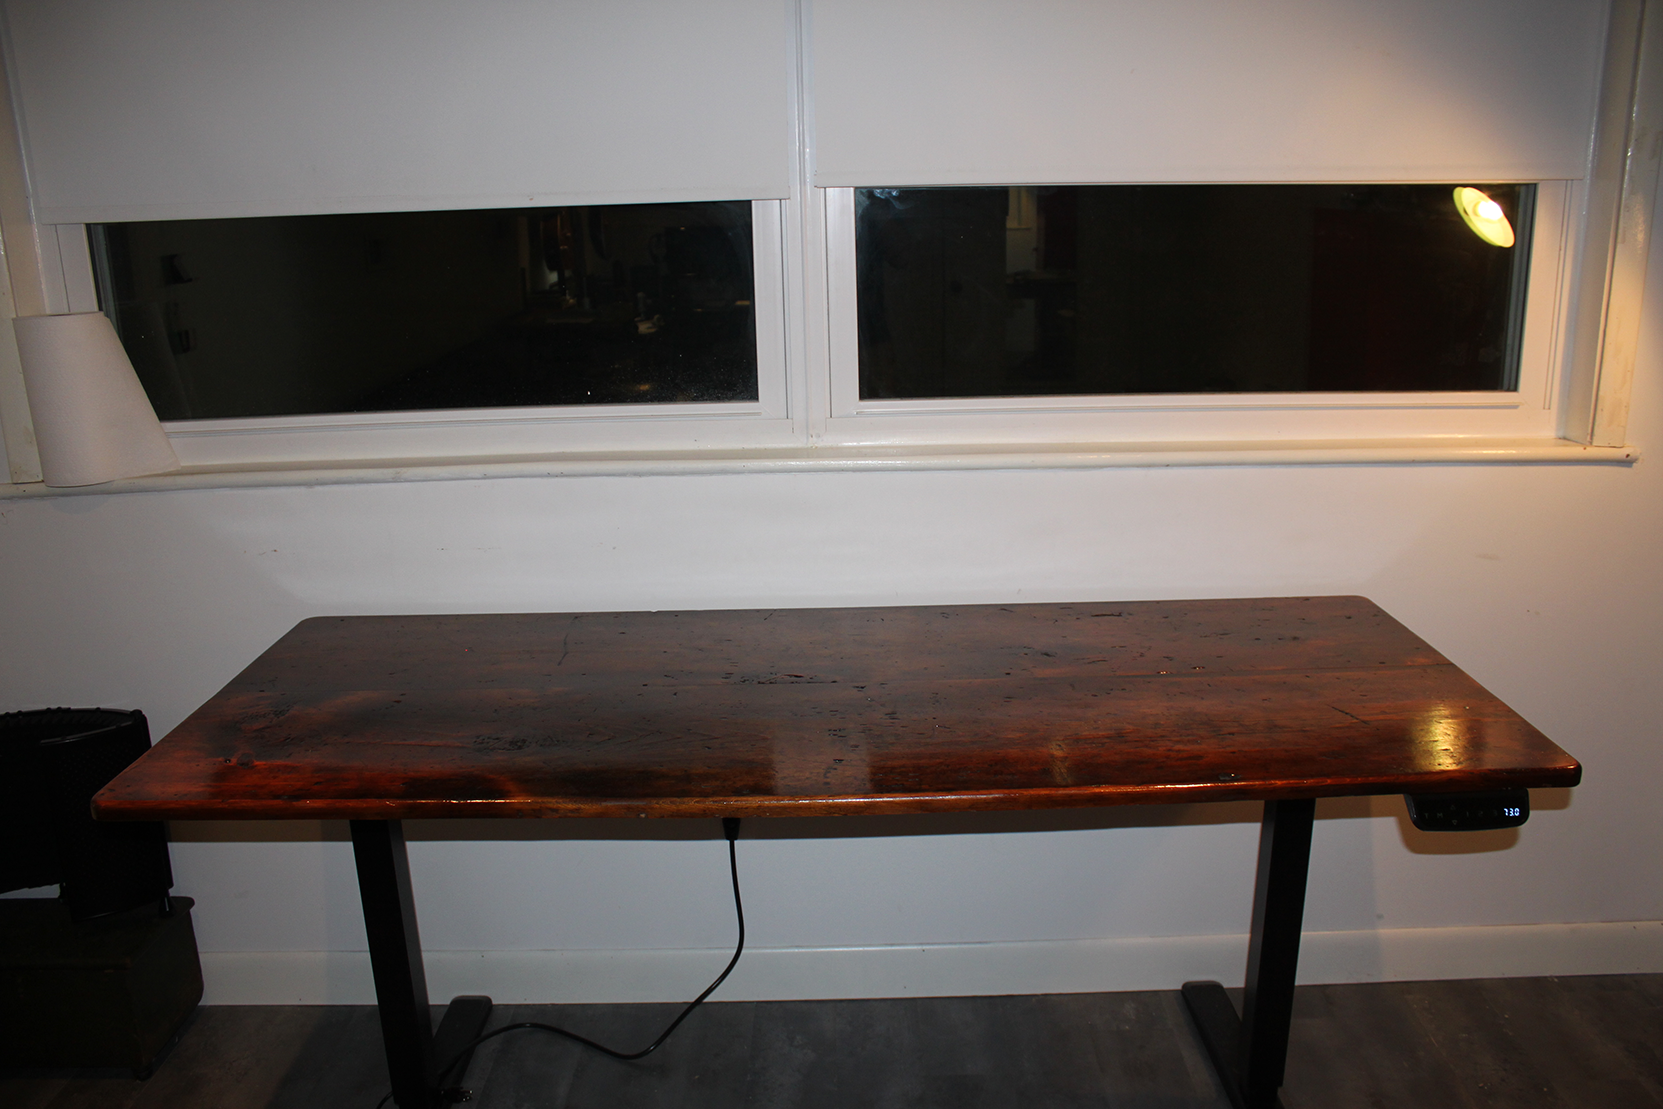
I finally moved the top upstairs to sit on the base.
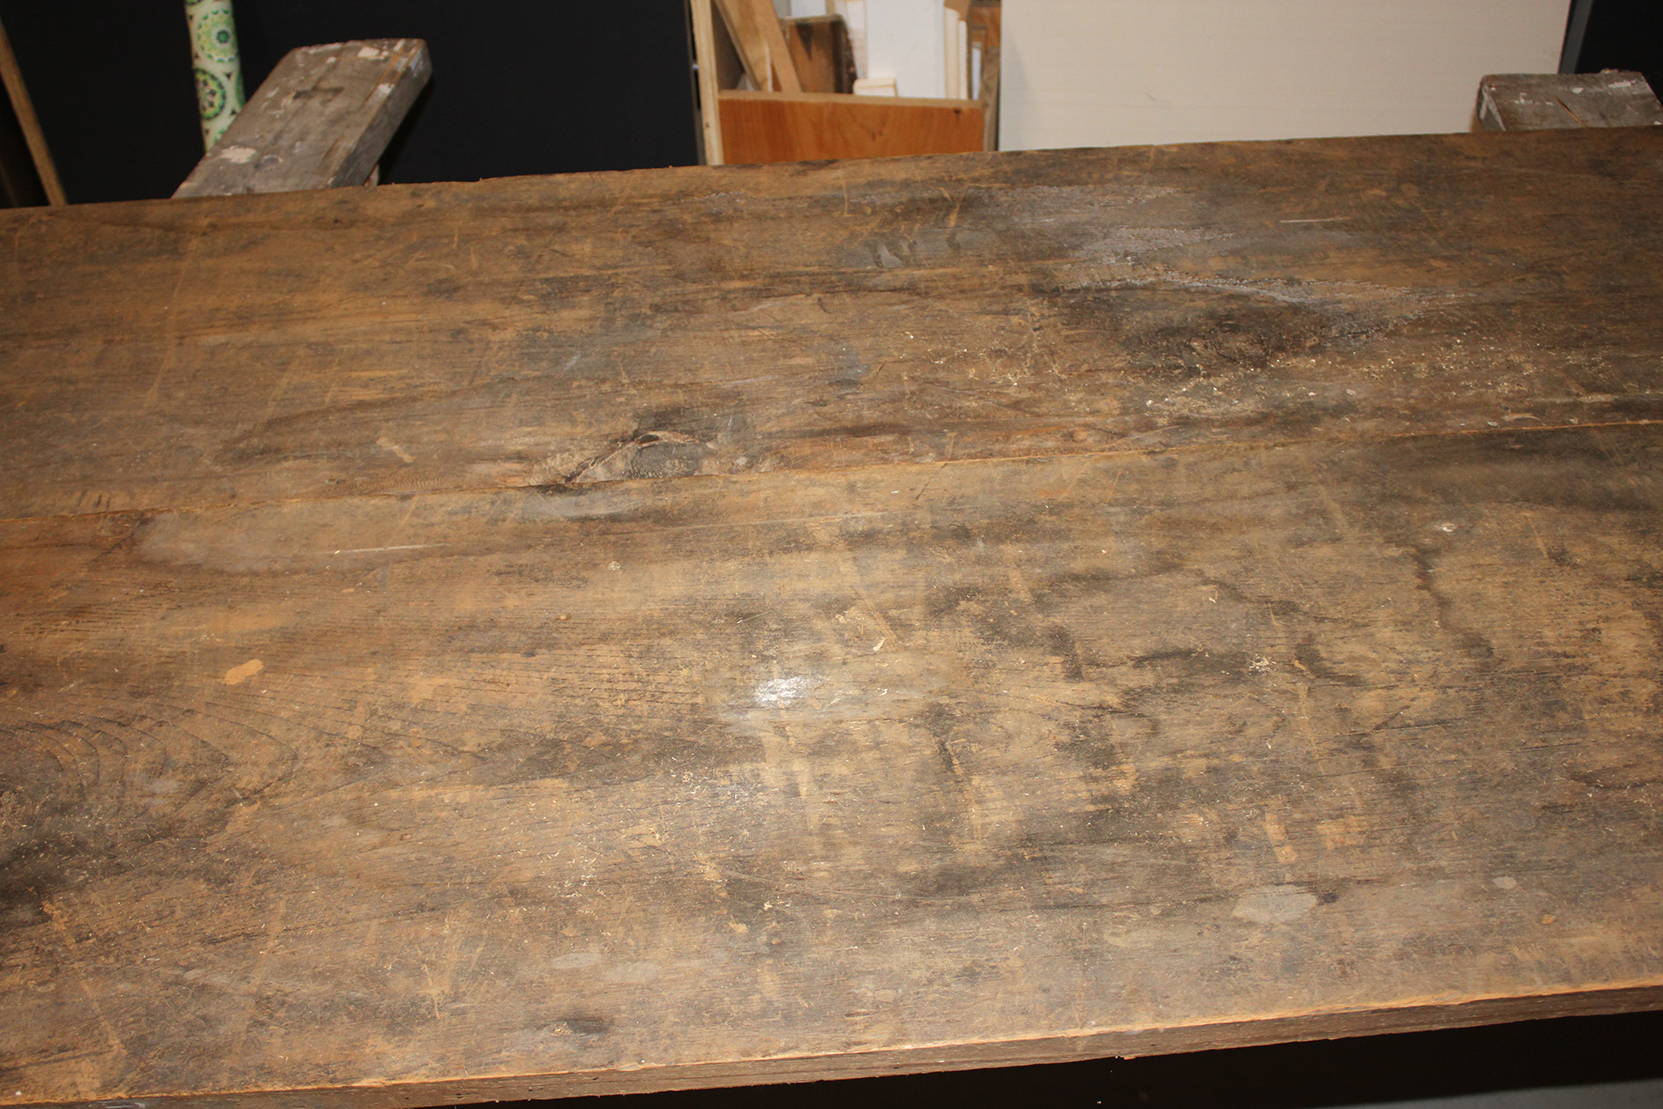
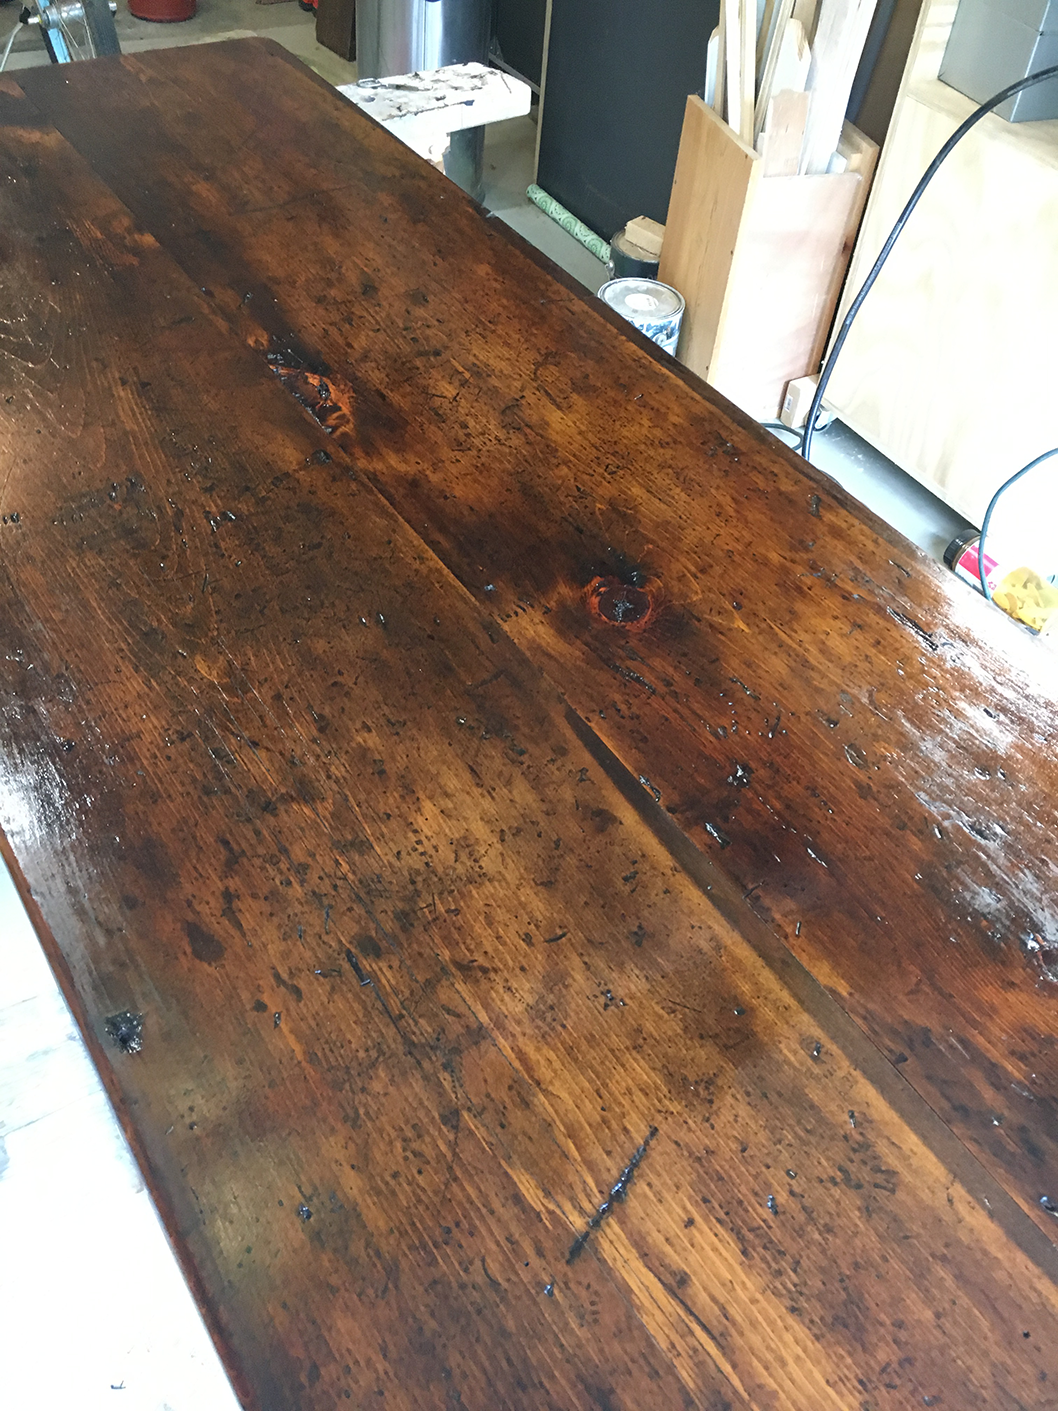
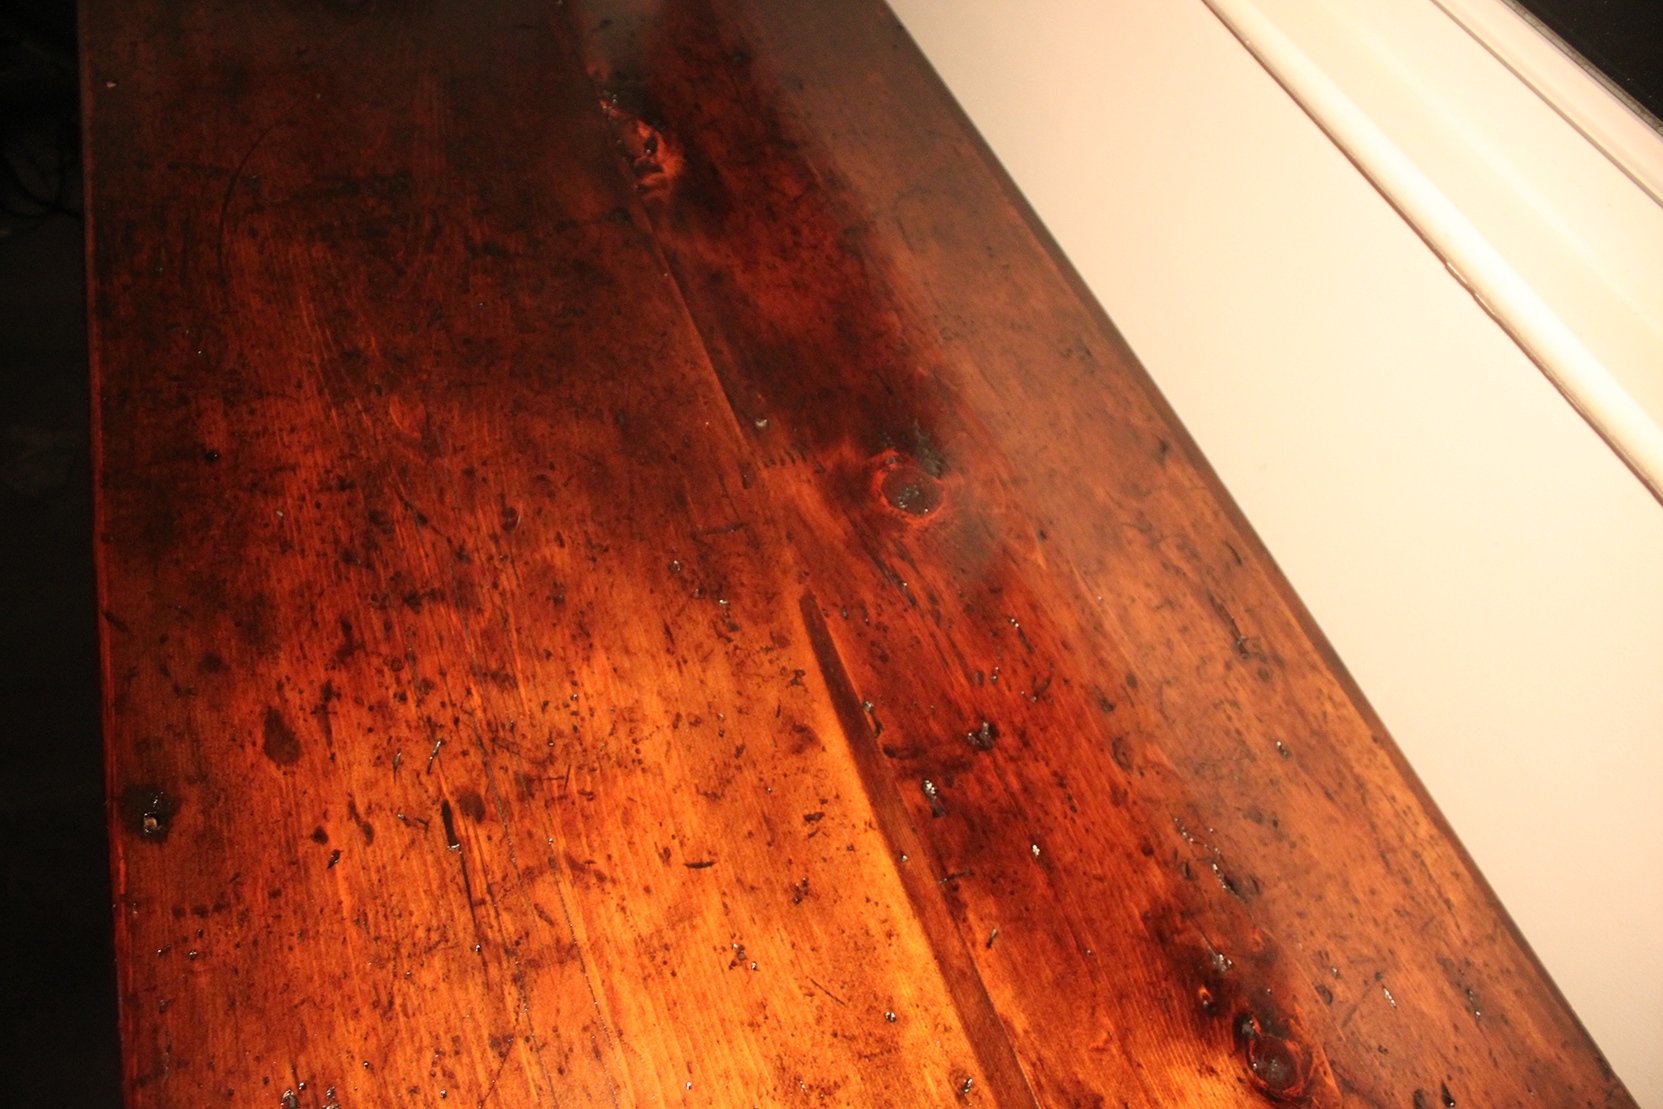
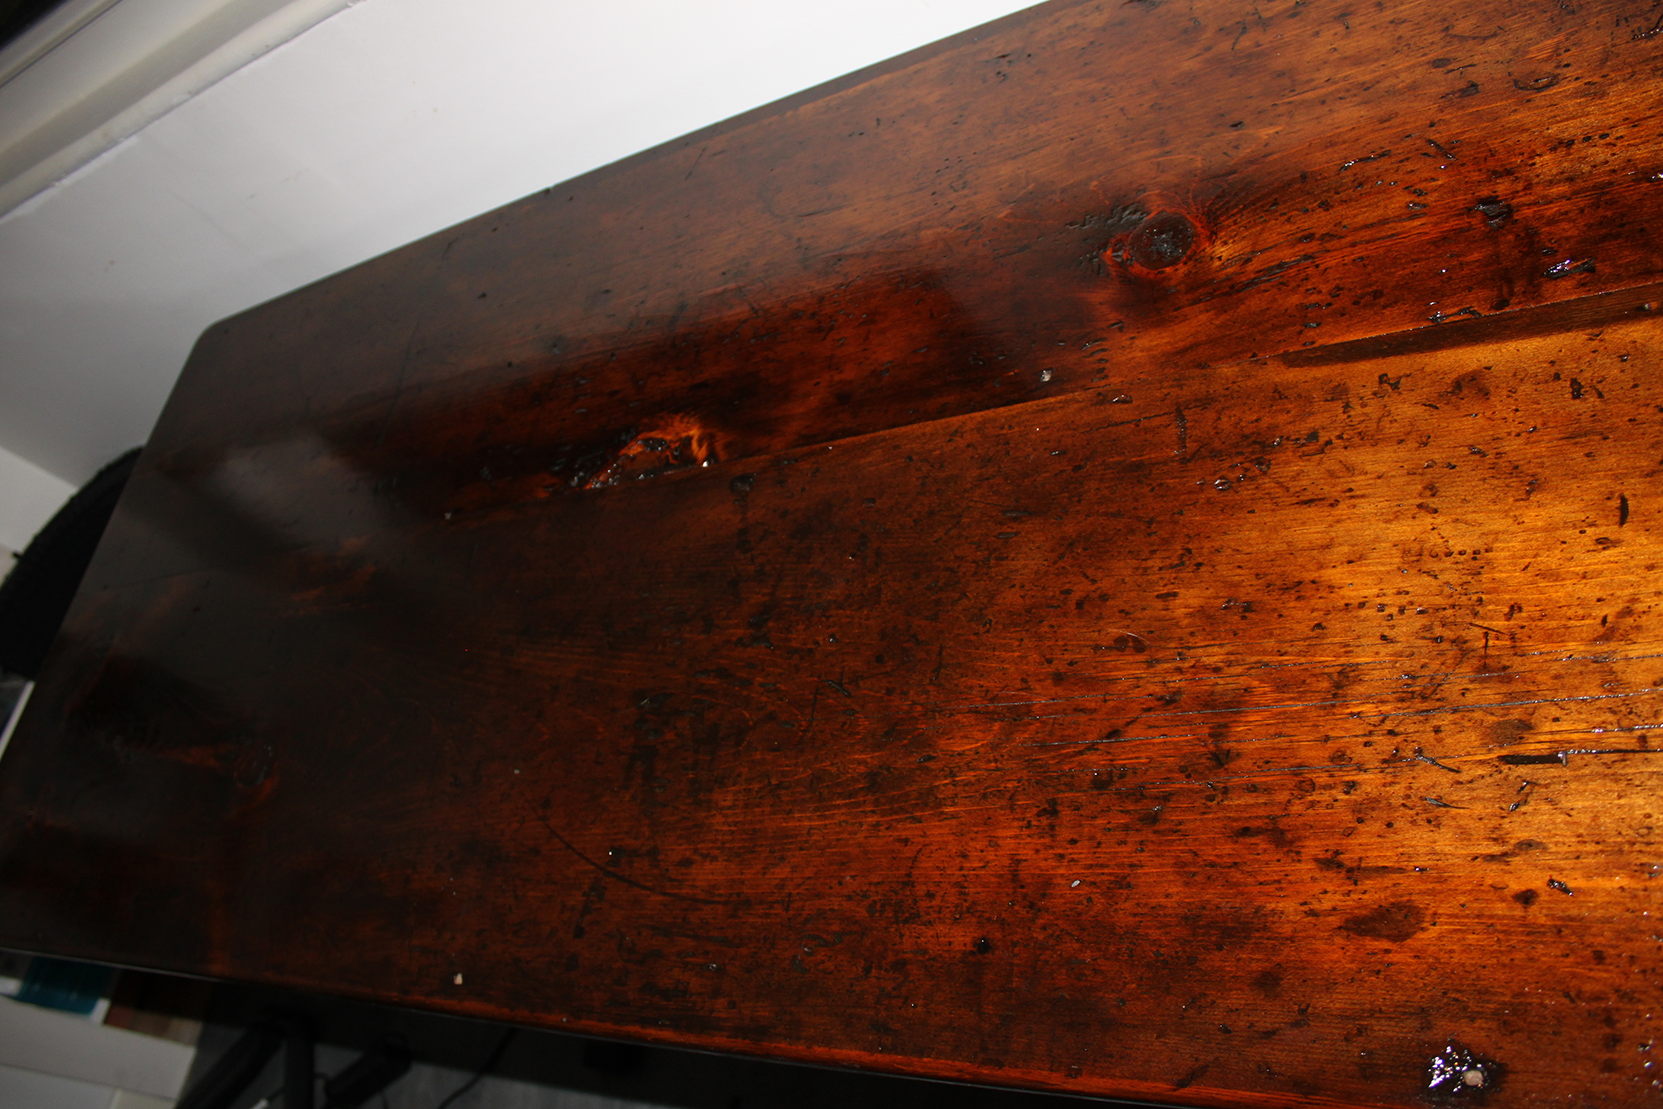
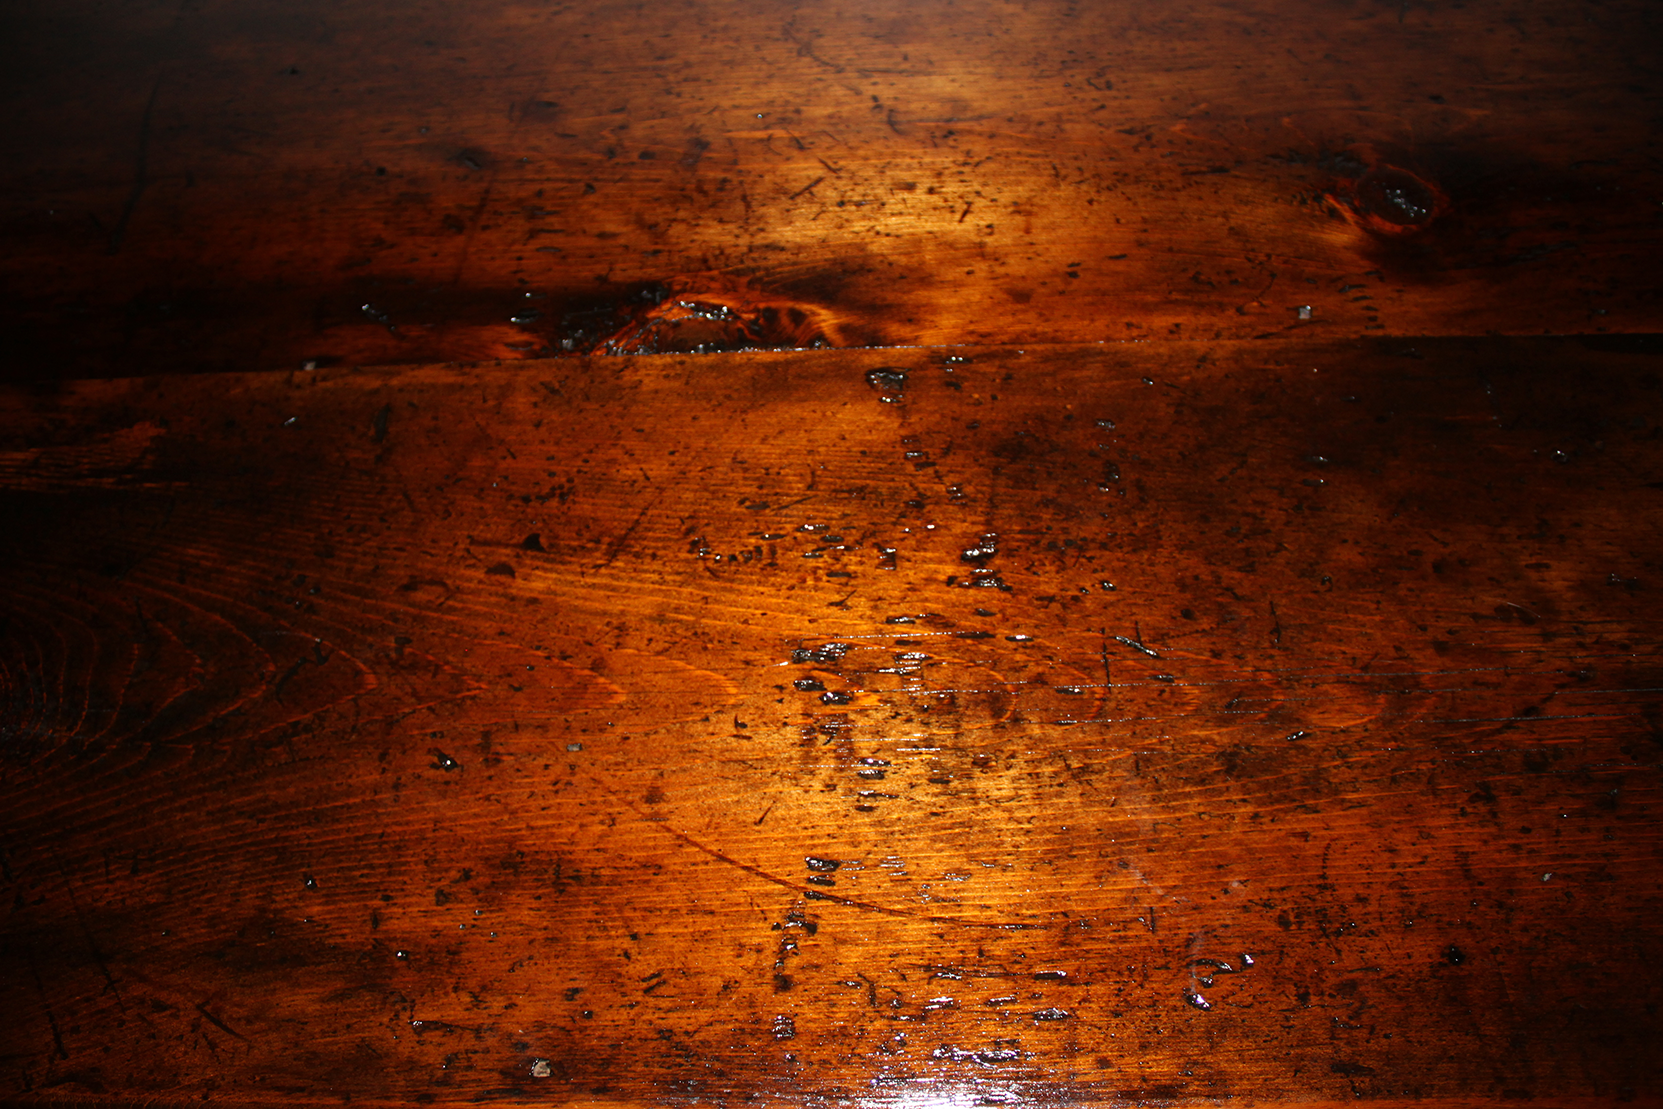
Here are some close-ups of the top.

Here's the top with monitors mounted, and a LOT of cords.
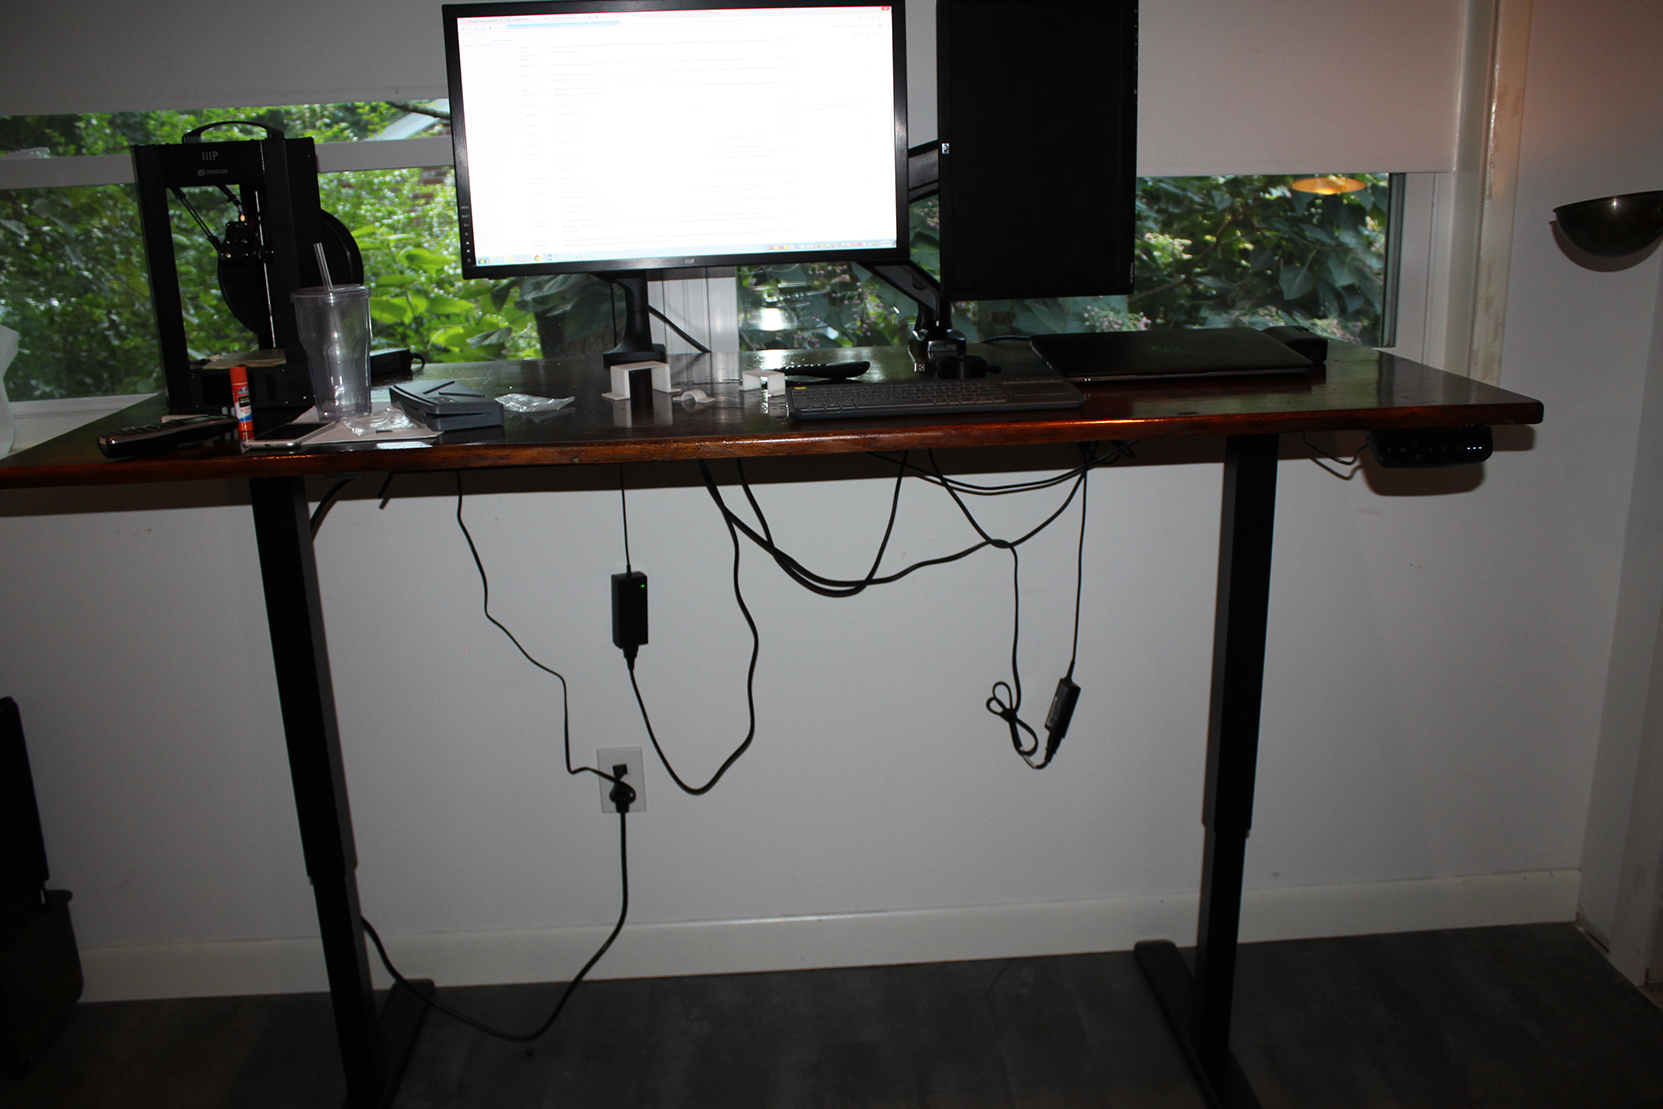
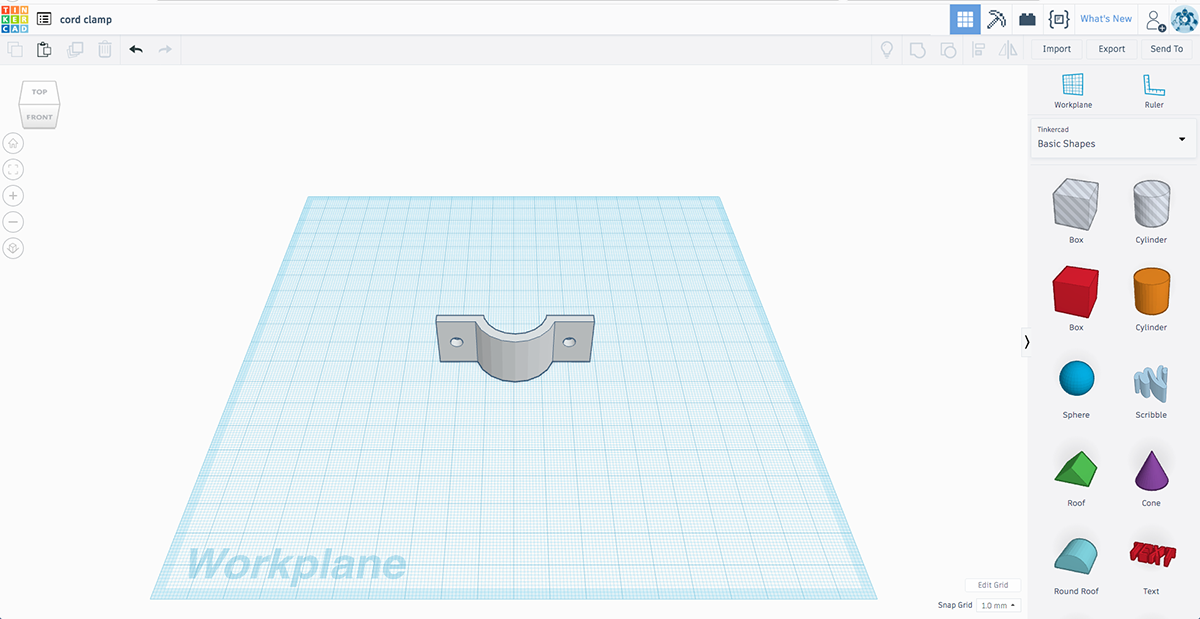
I needed to hide the cords, so I did a little design for 3D printed supports.
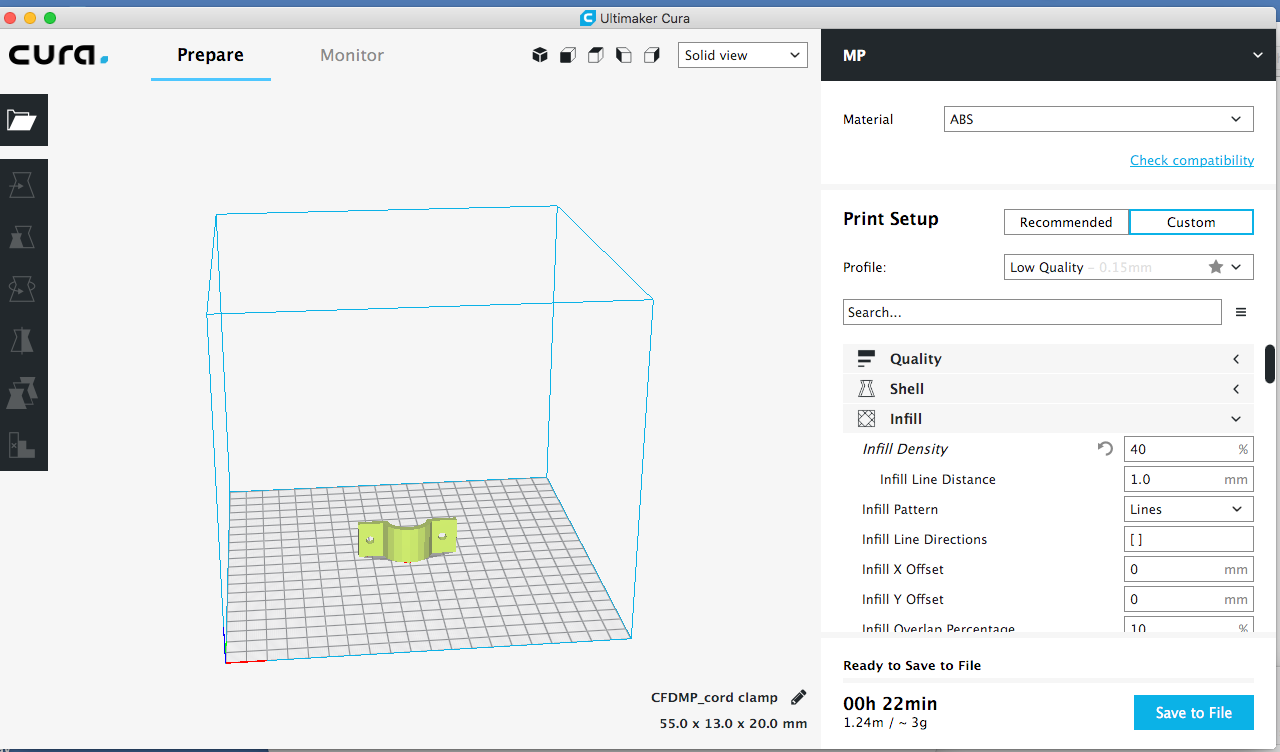
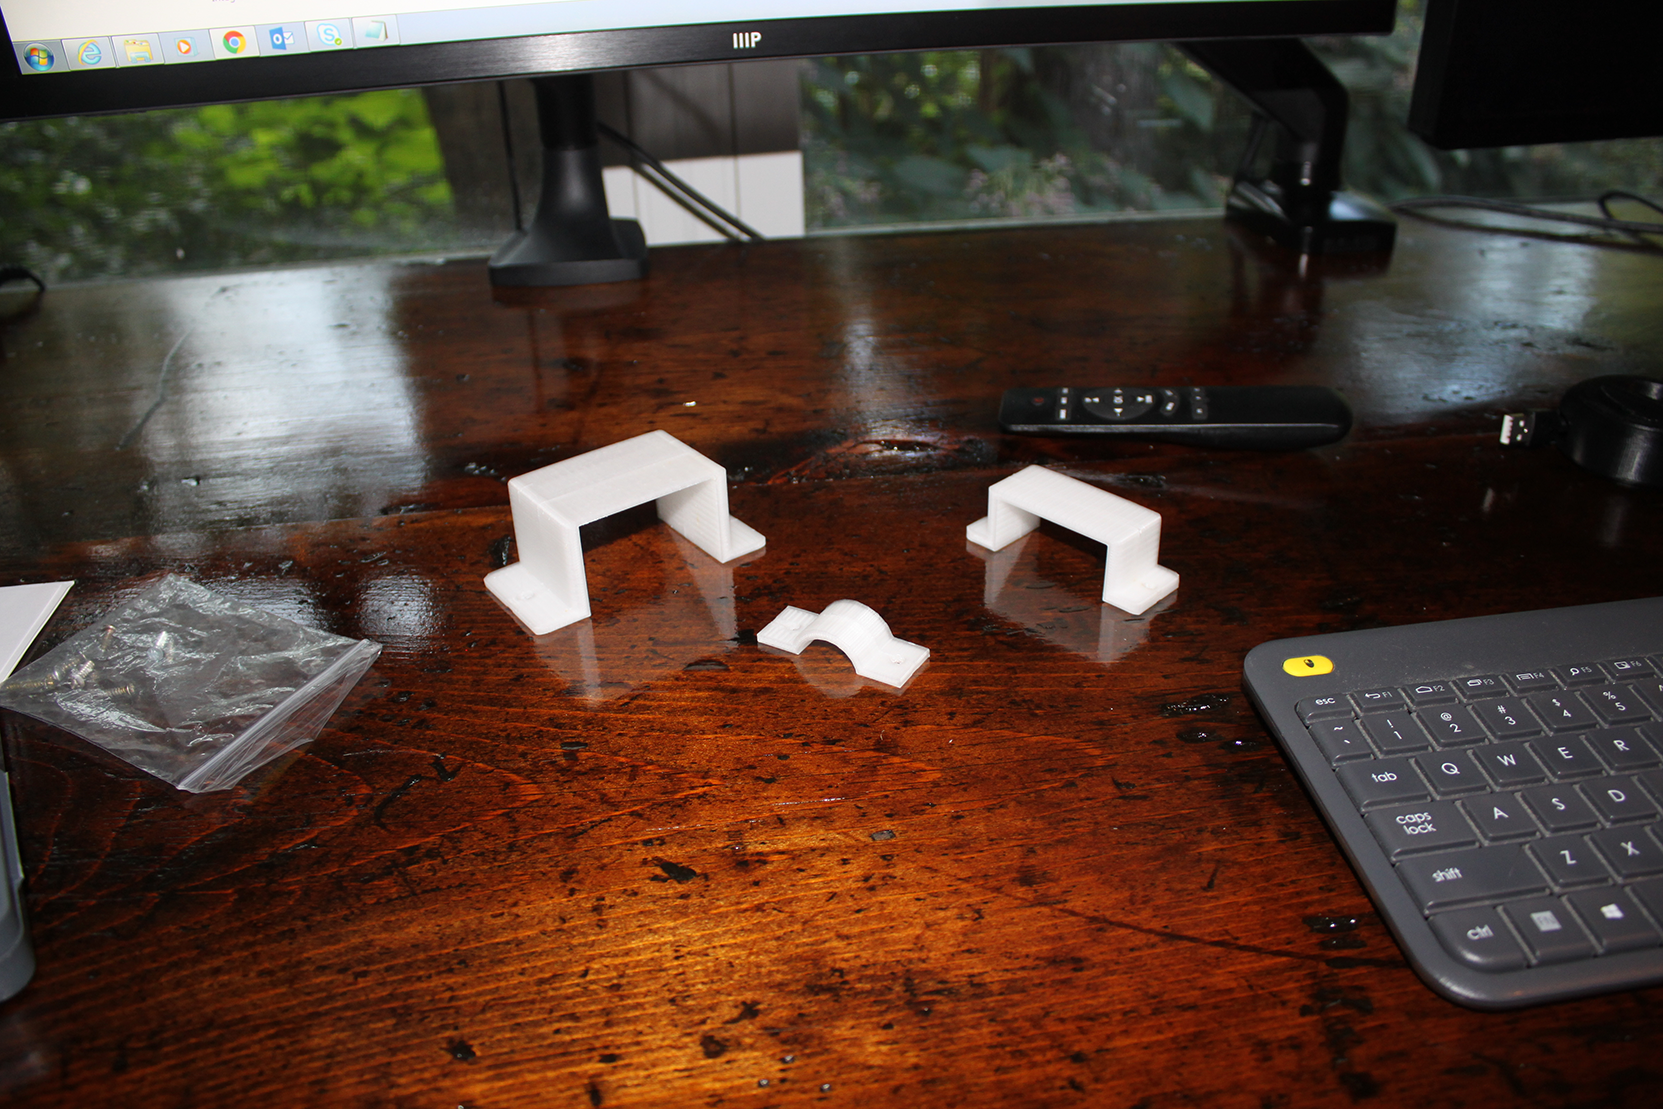
After about 20 minutes of printing per support I had what I needed
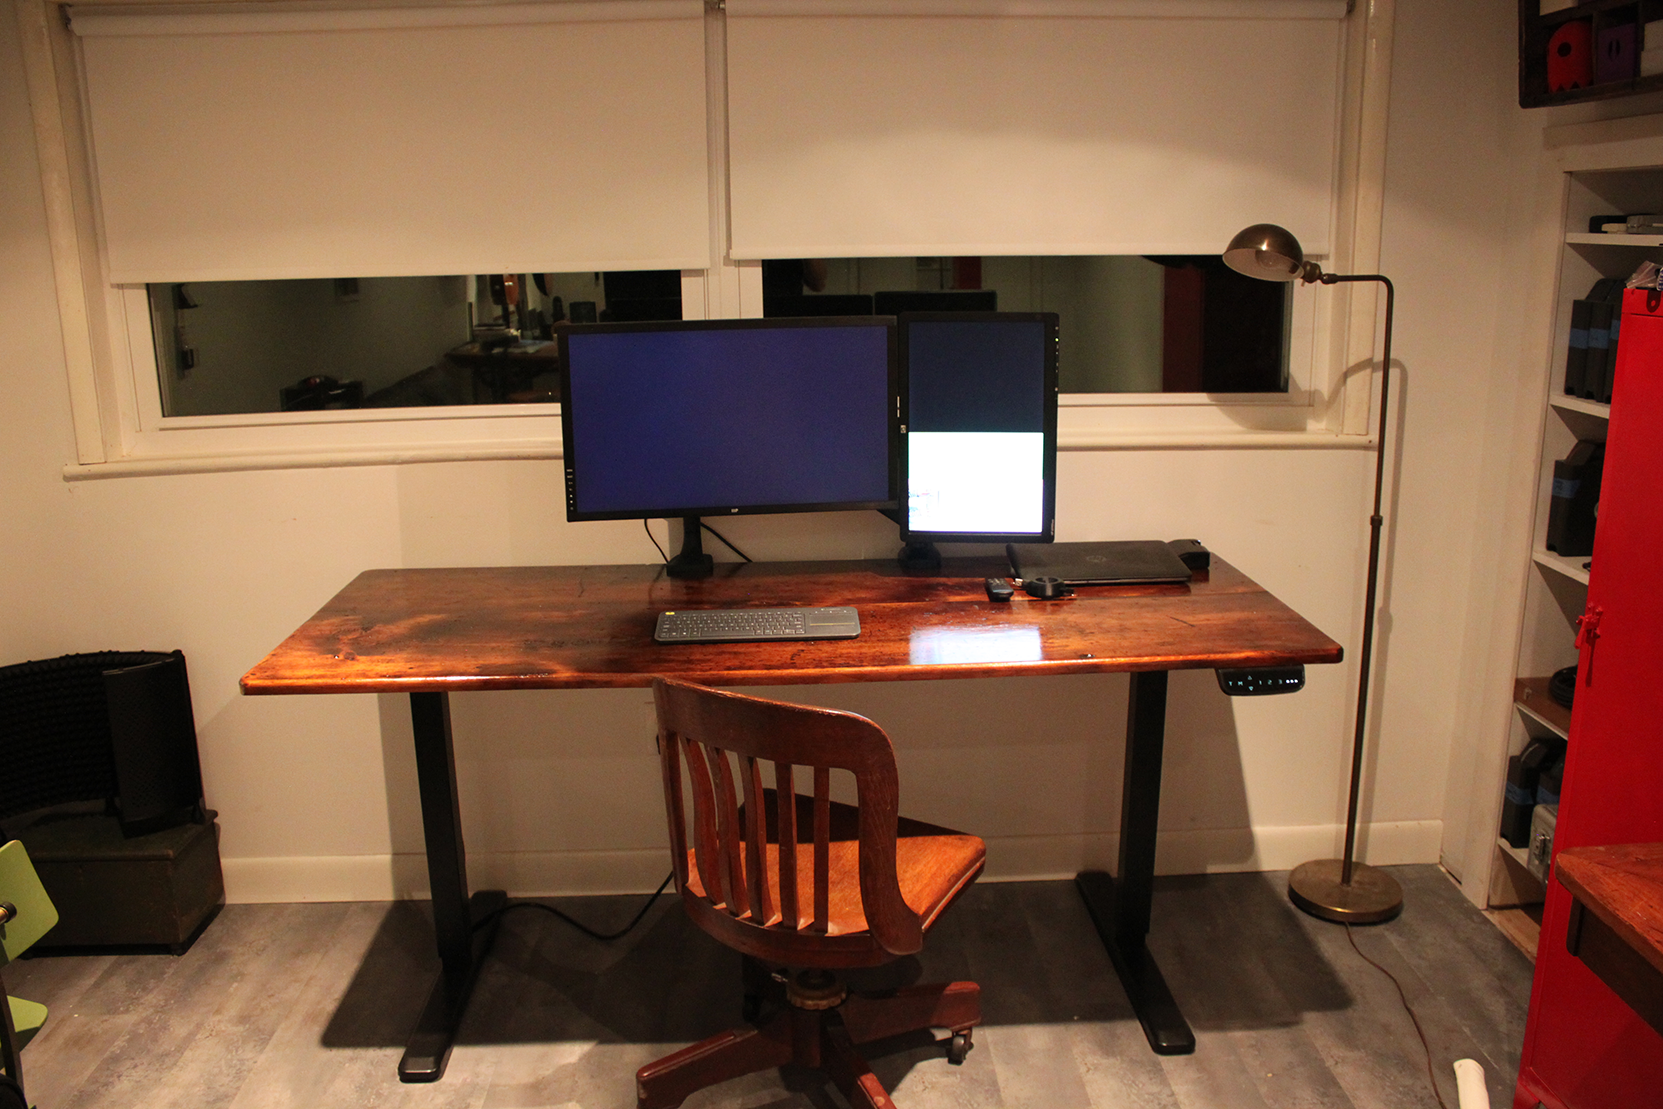
Here's the final setup, at a normal desk height with the chair Kara's parents recently gave me.
Here's the desk in stand up position, with all the cords and power bricks hidden underneath.
